Are you intrigued by the art of quilting and have always wondered how to make your very own traditional patchwork quilt? Look no further! In this article, we will guide you through the step-by-step process, from selecting the fabrics to stitching them together, to create a beautiful and timeless piece of artwork that can be cherished for generations to come. So grab your sewing kit and get ready to embark on a quilting adventure!

Choosing Fabric
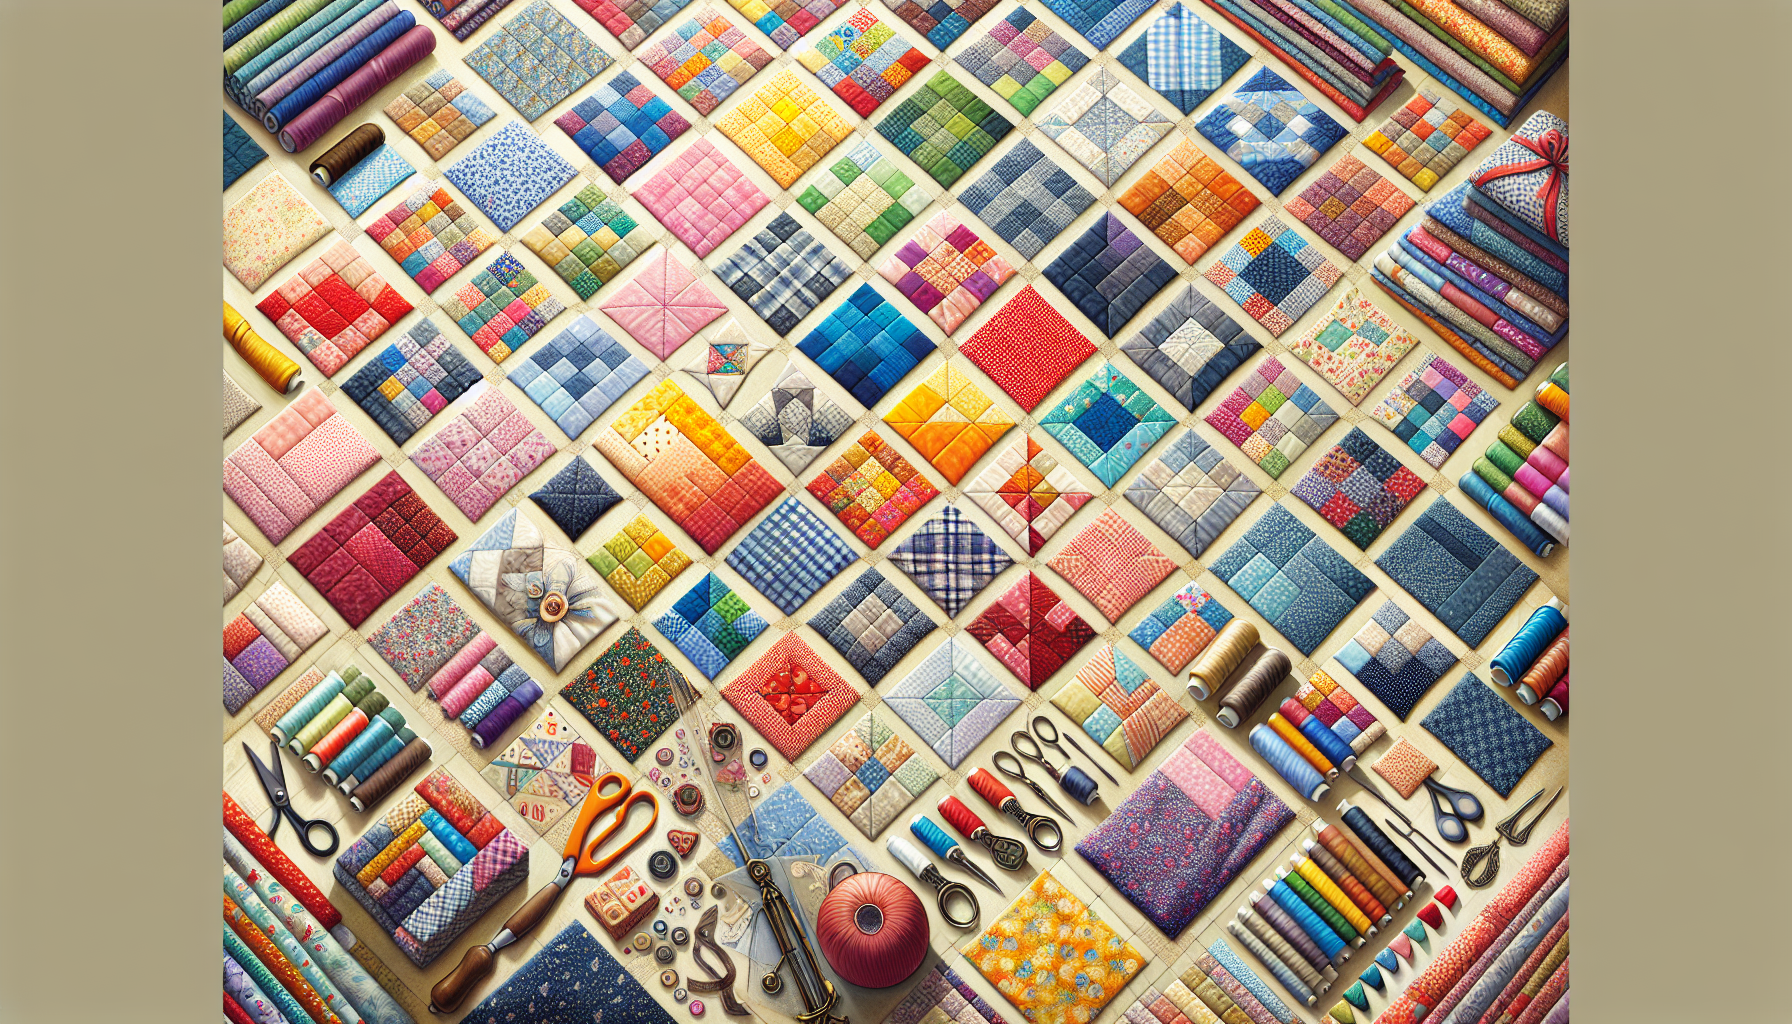
When it comes to making a traditional patchwork quilt, one of the most important steps is choosing the right fabric. The fabric you choose will not only determine the look and feel of the final quilt but also how easy or difficult it is to work with.
Selecting Fabric Colors
The first thing you need to consider is the color scheme you want for your quilt. Do you want a quilt that is bright and colorful or one that is more subdued? Think about the purpose of the quilt and the room it will be in. If you’re making a quilt as a gift for a baby, for example, you might want to choose soft pastel colors.
Determining Fabric Quantities
Once you have chosen your colors, you will need to determine how much fabric you will need. This will depend on the size of your quilt and the size of the quilt blocks you plan to use. It’s always a good idea to buy a little extra fabric just in case you make any mistakes or want to add some extra details to your quilt.
Pre-washing the Fabric
Before you start working with your fabric, it’s a good idea to pre-wash it. This will help to remove any chemicals or residues that may be on the fabric and also prevent any shrinkage that may occur after the quilt is finished. Simply wash the fabric in the machine on a gentle cycle, using a mild detergent, and then dry it on a low heat setting or air dry it.
Preparing the Fabric
Once you have chosen and pre-washed your fabric, it’s time to prepare it for use in your quilt. This involves ironing the fabric, cutting it to the correct size, and arranging it in the desired pattern.
Ironing the Fabric
Before you begin cutting and sewing, it’s important to ensure that your fabric is free from wrinkles and creases. Ironing the fabric will not only make it easier to work with but also ensure that your quilt blocks lie flat and evenly. Set your iron to the appropriate heat setting for the fabric you are using and press out any wrinkles.
Cutting the Fabric
Next, you will need to cut your fabric into the desired sizes and shapes for your quilt blocks. This can be done using a rotary cutter, quilting ruler, and cutting mat. Measure and mark your fabric according to your chosen quilt block template, and then carefully cut along the lines to create your quilt pieces. Accuracy is key when cutting fabric for quilting, so take your time and double-check your measurements.
Arranging the Fabric
Before you start sewing your quilt blocks together, it’s a good idea to arrange them in the desired pattern to get a sense of how the final quilt will look. You can do this by laying out the fabric pieces on a flat surface or using a design wall. Play around with different arrangements until you find the one you like best. This is also a good time to make any adjustments or changes to the layout before you start sewing.
Choosing a Quilt Block
The quilt block is the basic building block of your quilt top, and there are countless options to choose from. You can either select a traditional quilt block or design your own.
Traditional Quilt Block Options
If you’re looking for a timeless and classic design, traditional quilt blocks are a great option. There are hundreds of traditional quilt block patterns to choose from, ranging from simple squares and triangles to more intricate designs like stars and flowers. You can find inspiration for traditional quilt blocks in books, magazines, or online.
Designing Your Own Quilt Block
For those who want to put their own creative stamp on their quilt, designing your own quilt block can be a fun and fulfilling experience. You can start with a simple shape, like a square or triangle, and then experiment with different patterns, colors, and sizes to create a unique design. Don’t be afraid to let your imagination run wild and try out different ideas until you find the perfect quilt block for your project.
Piecing the Quilt Top
Once you have selected your quilt block pattern, it’s time to start piecing the quilt top. This involves creating templates, cutting the quilt blocks, and sewing the block pieces together.
Creating Templates
Templates are a helpful tool to ensure accuracy and consistency when cutting your quilt blocks. You can either purchase pre-made templates or make your own using cardboard, plastic, or template-making tools. Trace and cut out the template for each piece of your quilt block pattern, making sure to label them for easy identification.
Cutting the Quilt Blocks
Using your templates as guides, carefully cut out the fabric pieces for each quilt block. Take your time to ensure that your cuts are precise and accurate. It’s a good idea to cut one piece at a time and double-check your measurements before moving on to the next piece. This will help ensure that your quilt blocks fit together perfectly in the final quilt top.
Sewing the Block Pieces
Now that you have all the pieces cut out, it’s time to sew them together. Start by laying out the fabric pieces in the correct order according to your quilt block pattern. Then, using a sewing machine or hand sewing, stitch the pieces together, following a quarter-inch seam allowance. Take care to match up the corners and edges as accurately as possible to maintain the overall design of the quilt block. Press the seams open or to one side, depending on your preference, to reduce bulk. Repeat this process for each quilt block until you have completed the entire quilt top.
Adding Sashing
Sashing is the fabric strips that go between the quilt blocks and helps to separate and highlight each block.
Choosing Sashing Fabric
When choosing the fabric for your sashing, you can either go with a fabric that complements the colors and patterns of your quilt blocks or opt for a neutral fabric that provides a subtle contrast. Consider the overall look and feel you want for your quilt and choose a sashing fabric that enhances the design.
Cutting and Sewing Sashing Strips
To add sashing to your quilt, you will need to cut fabric strips of the desired width and length. Measure the distance between your quilt blocks and add a small amount for seam allowances. Cut the sashing strips accordingly and sew them between each quilt block, using the same quarter-inch seam allowance as before. Press the seam allowances toward the sashing fabric to create a neat and professional finish. Repeat the process until all the quilt blocks are separated by sashing strips.
Assembling the Quilt Sandwich
Before you can start quilting, you need to assemble the quilt sandwich, which includes the quilt top, batting, and backing fabric.
Preparing the Quilt Backing
The quilt backing is the fabric that will be visible on the back of the quilt. It should be larger than the quilt top to accommodate for any shifting or movement during the quilting process. Measure and cut the backing fabric according to the size of your quilt top, adding a few extra inches on each side as a safety margin. If your fabric is not wide enough, you can piece it together by sewing smaller sections together. Press the seams open or to one side, and then press the entire quilt backing to ensure it lies flat.
Layering the Quilt
To layer the quilt, start by laying the backing fabric right side down on a flat surface. Smooth out any wrinkles or folds. Next, place the batting on top of the backing fabric, aligning the edges. Finally, carefully place the quilt top right side up on top of the batting, ensuring that all the layers are centered and even. Smooth out any wrinkles or bubbles and use safety pins or basting spray to temporarily hold the layers together.
Basting the Quilt
Basting is the process of securing the layers of the quilt together in preparation for quilting. There are different basting methods you can choose from, depending on your preference and the size of your quilt.
Choosing a Basting Method
One popular basting method is hand basting, which involves using a needle and thread to stitch long, loose stitches that hold the layers together. Another option is spray basting, which involves using a temporary spray adhesive to adhere the layers together. Alternatively, you can use safety pins to secure the layers in place. Choose a basting method that works best for you and your quilt.
Securing Layers Together
Whichever basting method you choose, the goal is to ensure that the quilt top, batting, and backing fabric are securely held together and do not shift during the quilting process. Take your time to baste the entire quilt, working from the center outwards and smoothing out any wrinkles or bubbles as you go. Once you have finished basting, you can remove the safety pins or threads that were used to temporarily hold the layers together.
Quilting the Layers
Quilting is the process of stitching through all the layers of the quilt to secure them together and create the desired design. There are different quilting techniques and design options to choose from.
Hand Quilting
Hand quilting involves stitching through the layers using a needle and thread. It is a traditional and time-consuming technique that can add a beautiful handmade touch to your quilt. Hand quilting allows for more intricate designs and can be a relaxing and meditative process.
Machine Quilting
Machine quilting is a faster and more efficient method of quilting. It involves using a sewing machine to stitch through the layers. There are different quilting feet and techniques you can use with your sewing machine, such as free-motion quilting or using a walking foot. Machine quilting allows for more precise and consistent stitches, especially for larger quilts.
Quilting Design Options
When it comes to the design of your quilting, the options are endless. You can choose to follow the seams of your quilt blocks, create free-motion designs, or use quilting patterns and stencils. Consider the overall aesthetic of your quilt and the level of quilting experience you have when choosing a design. Remember, practice makes perfect, so don’t be afraid to experiment and try out different quilting techniques and designs on scrap fabric before quilting your actual quilt.
Adding the Quilt Border
A quilt border is a fabric strip that is added around the edges of the quilt to frame the design and provide a finished look.
Choosing Border Fabric
When choosing fabric for your quilt border, consider the colors, patterns, and scale of the fabric used in the quilt top. You can choose a fabric that complements the colors and patterns or opt for a fabric that provides contrast and adds visual interest. Go with a fabric that you love and that enhances the overall look of your quilt.
Measuring and Cutting Border Strips
To determine the length of your quilt border, measure the sides of your quilt top and add the desired width of the border. Cut fabric strips accordingly, making sure to account for seam allowances. Attach the border strips to the sides of the quilt top, using the same quarter-inch seam allowance as before. Repeat the process for the top and bottom border strips. Press the seam allowances toward the border fabric for a neat and professional finish.
Attaching the Border
Once all the border strips are attached, press the entire quilt top to ensure it lies flat and all the seams are neat. Take a step back and admire your work so far. The addition of the quilt border will help frame your quilt and give it a polished look.
Binding the Quilt
Binding is the final step in completing your quilt. It involves attaching a fabric strip to cover the raw edges of the quilt and provide a durable and finished edge.
Preparing the Binding Strips
To prepare the binding strips, cut fabric strips that are long enough to go around the entire quilt and wide enough to cover the raw edges. The width of the binding strip will depend on personal preference, but a common size is 2.5 inches. Sew the strips together at an angle to create one continuous strip, and then press the seam allowances open.
Attaching the Binding
To attach the binding, start by aligning the raw edges of the binding strip with the raw edges of the quilt, leaving a few inches of binding free at the starting point. Sew the binding strip to the quilt, using a quarter-inch seam allowance and leaving a few inches at the end free as well. Fold the binding over the raw edges of the quilt and press it in place. Sew the binding down by hand or with a sewing machine, using a blind stitch or a decorative stitch.
Finishing the Binding
Once the binding is attached, carefully trim any excess fabric and threads. Give the quilt a final press to ensure that the binding lies flat and all the stitches are secure. Congratulations, you have now completed your traditional patchwork quilt! Take a moment to admire your hard work and creativity. Your quilt is ready to be enjoyed and cherished for years to come.