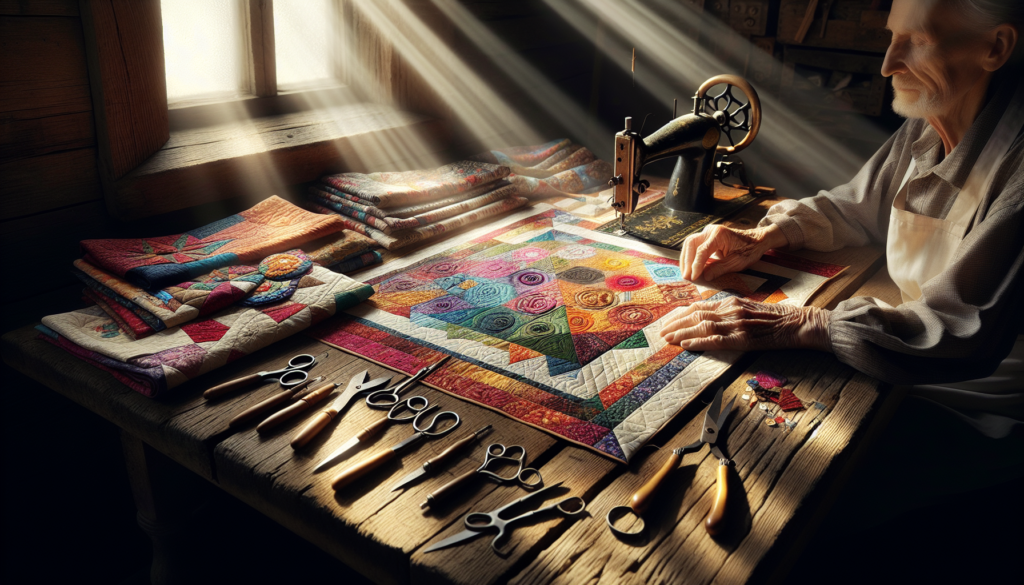
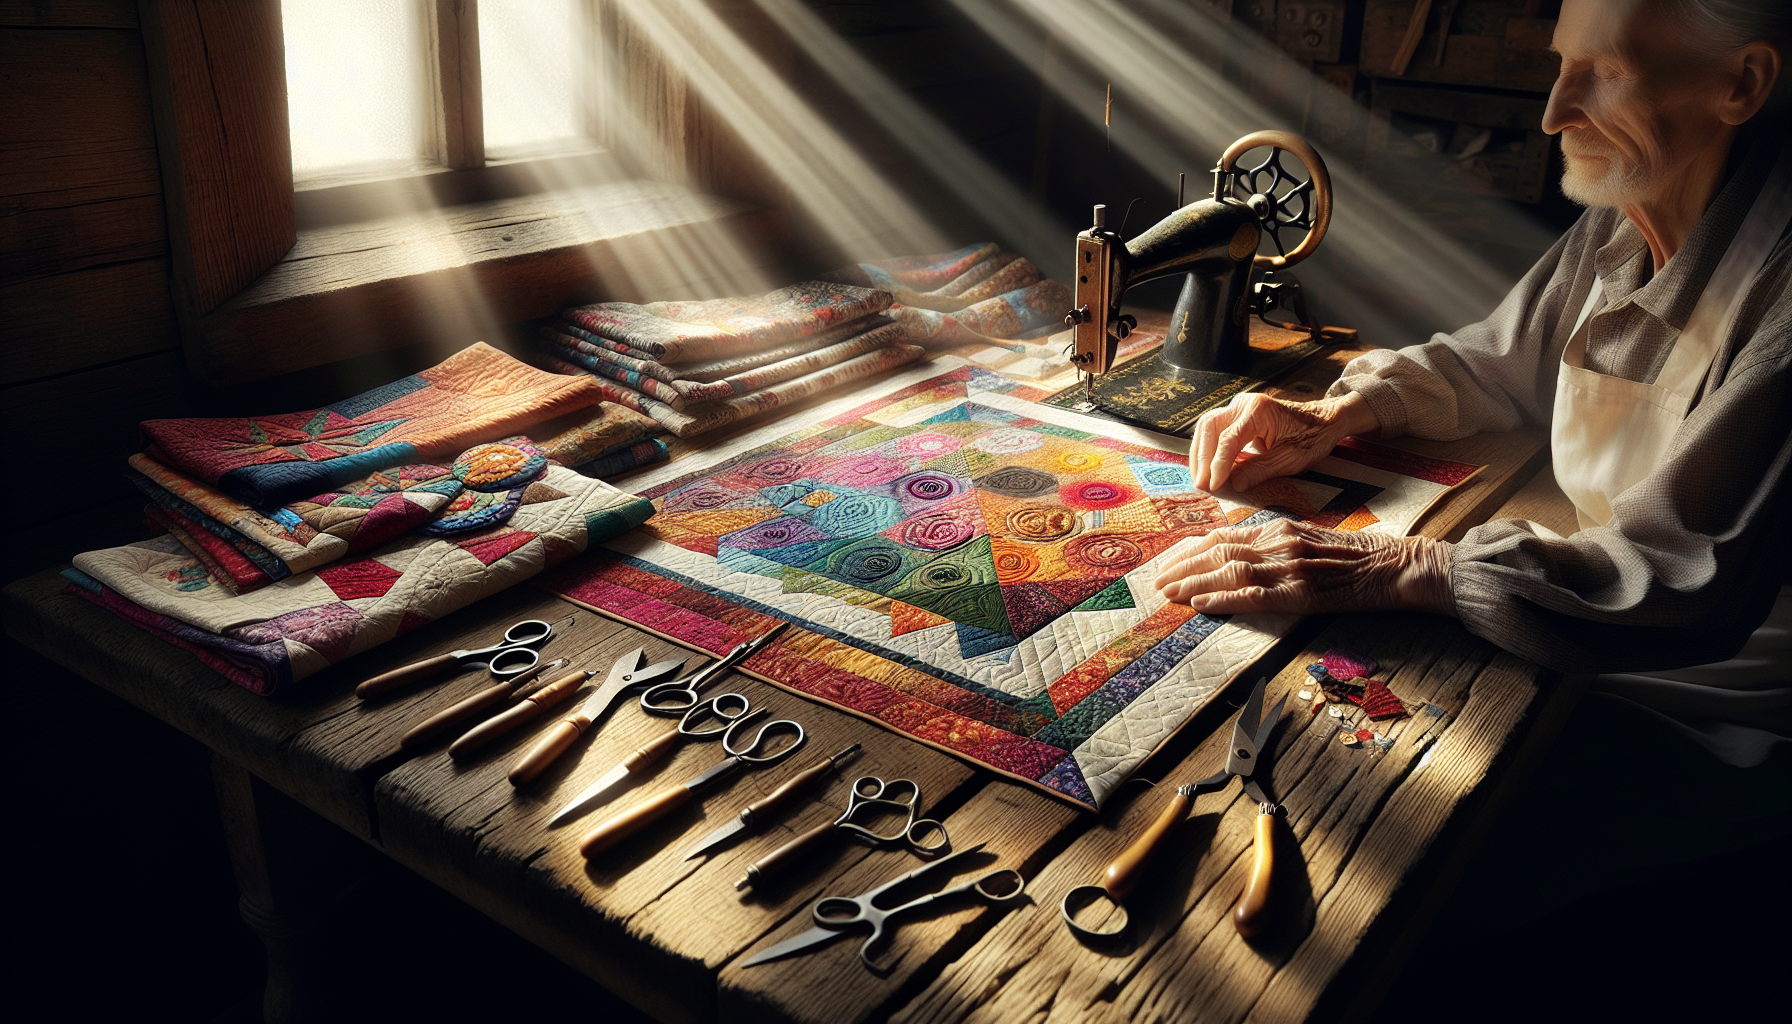
Imagine the satisfaction of snuggling up in a cozy handmade quilt, crafted with love and creativity. But here’s the exciting question: How fast can you make a quilt? Whether you’re a novice or an experienced quilter, this article will reveal some incredibly efficient techniques and tips to help you transform your fabric into a beautiful quilt in record time. Get ready to embark on a quilting journey like no other – where speed and creativity collide to create stunning masterpieces in the blink of an eye. So grab your sewing machine, unleash your inner artist, and let’s dive into the world of quilting speed!

Choosing the Quilt Pattern
When it comes to choosing a quilt pattern, it’s essential to consider your skill level. If you are a beginner, opt for a pattern that is simple and easy to follow. Choose a pattern that doesn’t involve complex techniques or intricate designs. This will ensure that you can successfully complete the quilt without feeling overwhelmed or discouraged.
Additionally, consider the size of the quilt you want to make. Larger quilts may require more time and effort to complete, so if you are short on time or are new to quilting, consider starting with a smaller project. Remember, quilting is a process that should be enjoyable, so choosing a quilt pattern that matches your skill level and time commitment is crucial.
Lastly, if you are new to quilting or are looking for a quicker option, consider using pre-cut fabrics. Pre-cut fabrics come in a variety of shapes and sizes, making them a convenient choice for those who want to save time and effort. These fabrics are already cut to the correct measurements, reducing the time spent on cutting and ensuring precise pieces for your quilt.
Gathering the Supplies
Before you begin your quilting project, it’s important to gather all the necessary supplies. Making a list of these supplies will ensure that you have everything you need before starting. Some essential supplies you will need include:
- Fabrics: Choose fabrics that suit your quilt pattern and personal preference. Consider the color scheme, texture, and print of the fabrics.
- Batting: This is the middle layer of the quilt and provides thickness and warmth. Choose a batting that suits your desired level of insulation.
- Thread: Select a high-quality thread that matches or complements the colors of your fabrics.
- Needles and pins: These tools will be used for sewing and securing fabrics.
- Rotary cutter and cutting mat: These tools are essential for precise fabric cutting.
- Ruler and measuring tape: Accurate measurements are essential for a well-made quilt.
- Sewing machine: Having a reliable sewing machine will make the piecing process faster and more efficient.
- Iron and ironing board: Properly pressed fabrics will result in a polished and professional-looking quilt.
Once you have gathered all the necessary supplies, it’s time to organize your workspace. Clearing off a table or setting up a designated area for quilting will allow you to work efficiently and keep your supplies within reach.
Preparing the Fabrics
Before you start piecing your quilt, it’s important to prepare your fabrics. Begin by washing and ironing the fabrics. This will remove any dirt, chemicals, or wrinkles that may affect the final result of your quilt. Be sure to follow the care instructions for each fabric to prevent any damage or shrinkage.
After washing and ironing, trim and square the fabrics. This step ensures that all fabric pieces are cut to the correct size and have straight edges. Use a rotary cutter and cutting mat to make precise cuts, following the measurements provided in your quilt pattern. Taking the time to trim and square your fabrics will result in a more professional-looking finished quilt.
Once you have trimmed and squared your fabrics, arrange them according to the pattern. Lay out the fabric pieces in the desired order, following the instructions provided. This will give you a visual representation of how your quilt will look and allow you to make any adjustments before sewing the pieces together.
Cutting the Fabrics
With your fabrics prepared and arranged, it’s time to cut them according to the pattern. Start by marking and measuring the fabrics. Use a ruler and marking tool to indicate the cutting lines and measurements on the fabric. Double-check your measurements to ensure accuracy and avoid any mistakes.
When cutting the fabrics, consider using rotary cutters. Rotary cutters are versatile and allow for more precise and efficient cutting compared to traditional scissors. Make sure to follow the pattern instructions carefully, cutting each fabric piece to the specified size and shape.
Take your time during this step and pay attention to detail. Accurate cuts will result in a nicely pieced quilt top and make the sewing process much smoother.
Piecing the Quilt Top
Once you have cut all the fabric pieces, it’s time to start piecing them together. This is where your quilt top starts to take shape. Begin by sewing the fabric pieces together, following the pattern instructions.
When sewing the fabric pieces, it’s important to press the seams. Pressing the seams helps to flatten them and creates a neater and more professional finish. Use an iron on a low or medium heat setting and press the seams either open or to one side, depending on the pattern instructions.
After sewing the fabric pieces together and pressing the seams, trim any excess fabric or stray threads. This will give your quilt top a clean and polished look and make it easier to quilt and bind.
Adding Borders and Sashing
Borders and sashing can add an extra touch of design and elegance to your quilt. To add borders, first measure and cut border strips according to the pattern instructions. Attach the border strips to the quilt top, aligning the edges and sewing them in place.
If desired, you can also add sashing between the quilt blocks. Sashing is a narrow strip of fabric that separates the blocks and can help create visual interest and contrast. Measure and cut sashing strips according to the pattern instructions, and sew them between the quilt blocks.
Adding borders and sashing is a personal preference, so feel free to explore different options and designs to enhance your quilt.
Creating the Quilt Sandwich
Before you can begin quilting, you need to create the quilt sandwich. Lay the quilt backing on a flat surface, wrong side up. Smooth out any wrinkles or creases to ensure a flat foundation for your quilt.
Next, layer the batting on top of the backing. Batting provides thickness, insulation, and loft to your quilt. Choose a batting that suits your desired level of warmth and comfort. Smooth out the batting, ensuring that it covers the entire backing evenly.
Finally, position the quilt top on the batting, right side up. Take your time to align the edges and corners of the quilt top with the backing. Smooth out any wrinkles or bubbles to ensure a well-prepared quilt sandwich.
Quilting Techniques
Quilting adds texture, durability, and design to your quilt. There are various quilting methods you can choose from, depending on your preference and skill level. Some common quilting techniques include hand quilting, machine quilting, and free-motion quilting.
Before quilting your actual quilt, it’s a good idea to practice your chosen quilting technique on a sample quilt sandwich or scrap fabric. This will give you an opportunity to familiarize yourself with the technique and adjust your speed and tension settings if necessary.
Once you are ready to quilt your actual quilt, secure the layers together with quilting stitches. Follow your chosen quilting pattern or design and work your way across the quilt, ensuring that the stitches are evenly spaced and secure. Take breaks as needed to prevent fatigue and ensure accuracy.
Binding the Quilt
After you have finished quilting, it’s time to bind the quilt edges. Binding not only provides a finished look to your quilt but also secures the layers together. To prepare the binding strips, cut fabric strips according to the pattern instructions.
Begin by attaching one end of the binding strip to the quilt edge. Sew the binding in place, aligning the raw edges with the quilt’s raw edge. As you sew, fold the binding strip over the quilt’s raw edge, encasing it. Continue sewing until you reach the starting point, overlapping the binding strips slightly.
Once the binding is sewn in place, carefully fold and stitch the binding to the back of the quilt. This can be done either by hand or by machine, depending on your preference and skill level. Take your time to ensure neat and even stitching for a professional-looking finish.
Finishing Touches
After completing the quilting and binding process, there are a few final touches to give your quilt a polished look. Start by clipping any threads and trimming any excess fabric that may be sticking out. This will give your quilt a clean and finished appearance.
Next, remove any markings that may still be visible on the quilt. It’s important to follow the manufacturer’s instructions for removing these markings, as some methods may be suitable for certain fabrics while others may not.
Finally, give your quilt a final press with an iron. This will help to set the stitches and create a smooth and flat finish. Pressing your quilt before displaying or using it will ensure that it looks its best.
Remember, quilting is a labor of love, and it’s important to enjoy the process. Take your time, be patient, and have fun creating something beautiful and unique. With practice, your quilting skills will improve, and you’ll be able to make quilts faster while still maintaining a high level of quality. Happy quilting!


