So, you’ve got the sewing bug and you’re ready to embark on a new creative project – making a quilt! But as a beginner, you may be wondering just how long it’s going to take to successfully complete this endeavor. Well, fear not, because we’re here to help answer that very question. In this article, we’ll take a closer look at the time it typically takes for beginners to make a quilt, giving you a better idea of what to expect and how to plan your quilting journey accordingly.

Choosing a Quilt Pattern
Considerations for choosing a quilt pattern
When it comes to choosing a quilt pattern, there are several factors to consider. First and foremost, think about your skill level and experience. As a beginner, it’s important to select a pattern that matches your proficiency to ensure success and avoid becoming overwhelmed. Look for patterns labeled as “beginner-friendly” or those that use simple shapes and straightforward techniques.
Another consideration is the quilt’s intended purpose. Are you making it as a gift, for yourself, or for a specific occasion? If you’re making a quilt for a loved one, think about their personal style and preferences. Consider their favorite colors, patterns, or hobbies, and incorporate these elements into your pattern choice. This will make the quilt even more meaningful and personalized.
Lastly, think about the time and effort you’re willing to invest in the quilt. Some patterns can be more time-consuming than others, especially those that involve intricate piecing or detailed appliqué. If you’re looking for a quicker project, opt for a pattern with larger blocks or simpler designs. However, if you have the patience and desire to tackle a more intricate pattern, go for it!
Factors that affect the time required for a quilt pattern
The time required to complete a quilt pattern can vary greatly depending on several factors. Firstly, the complexity of the pattern itself plays a significant role. More intricate designs with smaller pieces or intricate appliqué can take a considerable amount of time to complete. On the other hand, patterns with larger blocks or simpler designs can be completed more quickly.
Additionally, the size of the quilt has a direct impact on the time required. Larger quilts naturally take longer to complete than smaller ones. Consider the purpose of the quilt and how vital its size is to fulfill that purpose. If you are aiming for a project that can be completed in a shorter amount of time, select a smaller quilt size.
Lastly, the level of your quilting experience can affect the time required to complete a quilt pattern. As a beginner, it’s natural to take more time to understand and execute the various sewing techniques involved. However, with practice and experience, you’ll become more efficient and speed up the entire process.
Fabric Selection
Factors to consider when selecting quilt fabrics
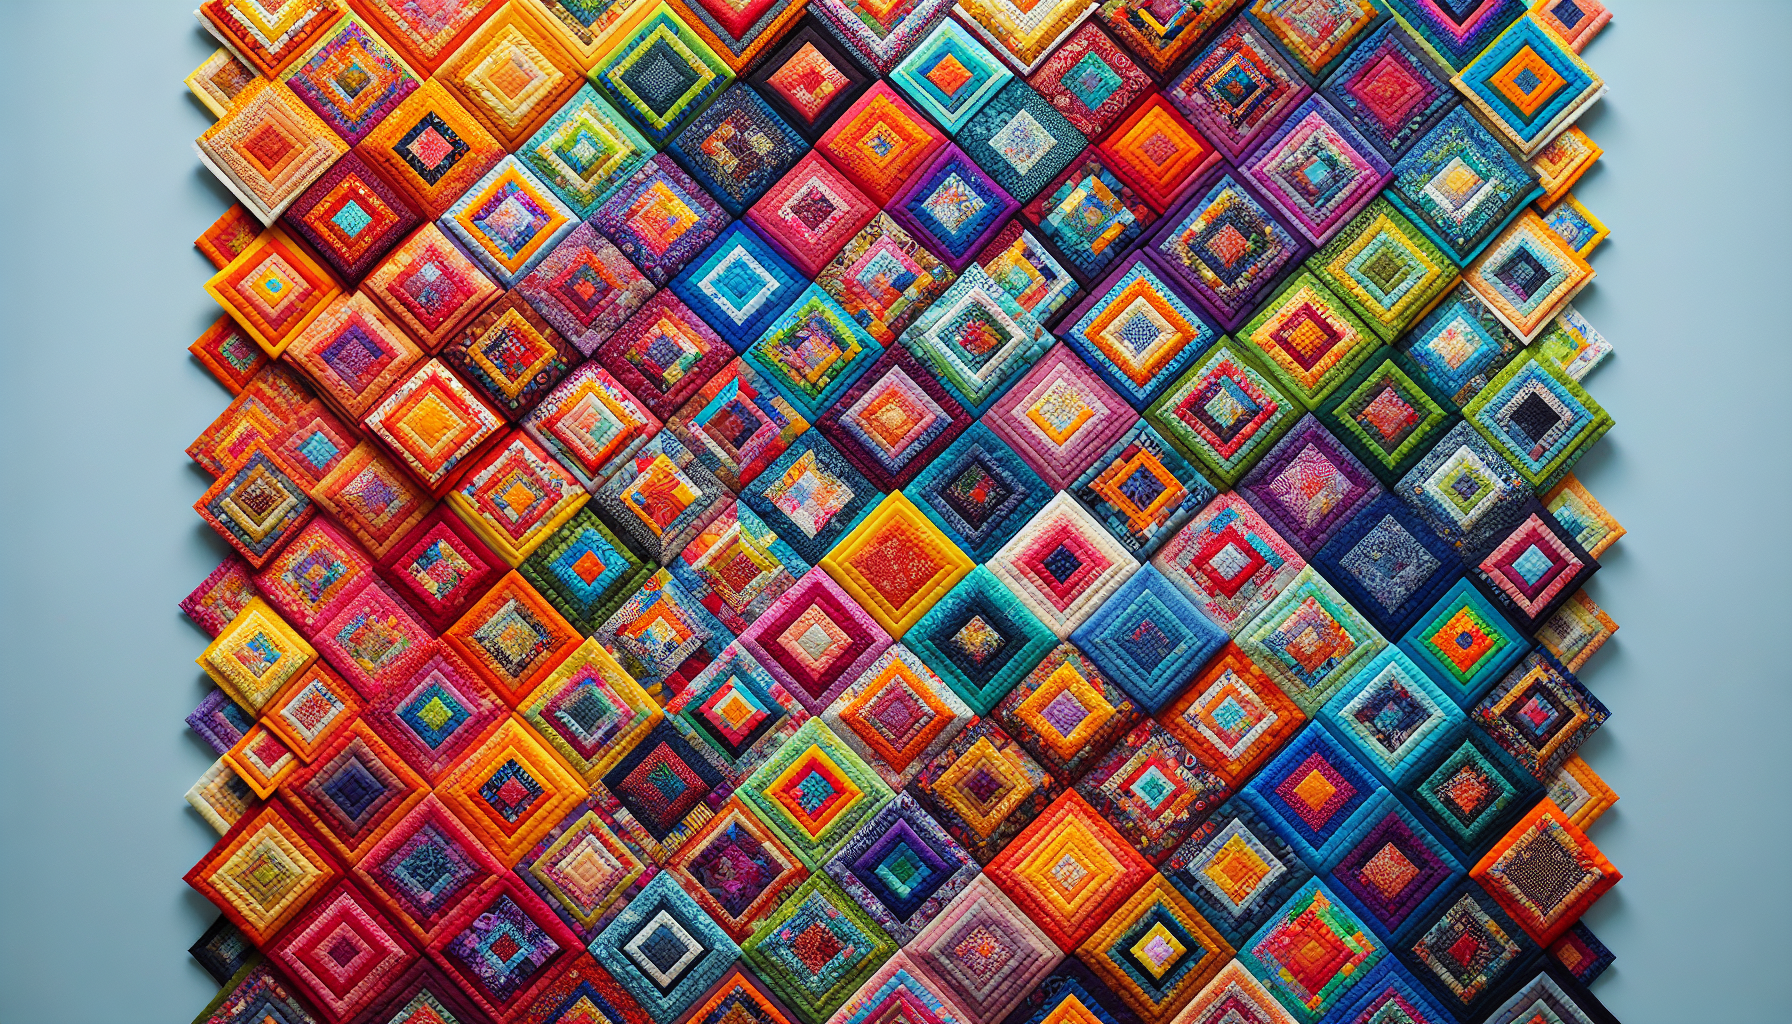
The choice of fabric is a crucial aspect of quilting, and several factors should be considered when selecting quilt fabrics. First and foremost, think about the theme or mood you want to convey through your quilt. Is it intended to have a modern and vibrant look, or are you aiming for a more traditional and subdued feel? The fabric you choose will play a significant role in achieving the desired aesthetic.
Consider the durability and care requirements of the fabric as well. If the quilt is intended for everyday use, opt for fabrics that are easy to maintain and can withstand regular washing. On the other hand, if the quilt will be primarily displayed or used decoratively, you can choose more delicate or luxurious fabrics.
Additionally, think about the color scheme and coordination of the fabrics. It’s essential to select fabrics that harmonize well together and create a visually pleasing composition. You can choose fabrics within a specific color palette or select complementary colors for added visual interest.
Ways to expedite fabric selection
Fabric selection can sometimes feel overwhelming, but there are ways to expedite the process and make it more manageable. One strategy is to use pre-coordinated fabric bundles or collections. These bundles typically contain fabrics that are designed to work well together and eliminate the guesswork of coordinating fabrics yourself. By opting for these collections, you can save time and ensure a cohesive look.
Another helpful tip is to use color and fabric swatches. Many fabric stores or online platforms provide small swatches of their fabrics, allowing you to see and compare them in person. By having these swatches, you can easily mix and match fabrics and see how they look together without purchasing yards of each fabric.
Lastly, don’t be afraid to seek inspiration from other quilters. Browse through quilting magazines, books, or online quilting communities to see how different fabrics are used in various patterns. Often, seeing examples and gaining inspiration can help you narrow down your choices and feel more confident in your fabric selection.
Gathering Supplies
Essential quilting supplies
Before embarking on your quilting journey, it’s essential to gather all the necessary supplies. While the list of quilting supplies can be extensive, some items are considered essential for any quilting project. These include:
-
Fabric: Of course, you’ll need an ample supply of fabric for the quilt top, backing, and binding. The amount will depend on the pattern and size of your quilt.
-
Thread: High-quality cotton thread is recommended for quilting as it is strong enough to withstand regular use and washing.
-
Needles: Choose needles specifically designed for quilting or use ones labeled as “sharp” or “betweens” as they are ideal for piecing and hand quilting.
-
Scissors or rotary cutter: You’ll need dedicated fabric scissors or a rotary cutter with a sharp blade to cut the fabric accurately.
-
Cutting mat and ruler: These tools are crucial for precise fabric cutting. A self-healing cutting mat and a clear, transparent ruler are recommended.
-
Thimble: If you plan to do any hand quilting, a thimble can protect your fingers and make the process more comfortable.
-
Pins and safety pins: Use pins for holding fabric pieces together during sewing, and safety pins for basting the layers.
Optional supplies and their impact on time
While the essential supplies listed above are necessary for quilting, there are optional items that can enhance your quilting experience and potentially save time. Consider the following optional supplies:
-
Quilting rulers: Specialty rulers, such as square rulers or rulers with specific angles, can aid in accurately cutting fabric pieces. Having these rulers on hand can expedite the cutting process and ensure precise measurements.
-
Quilting machine: Investing in a dedicated quilting machine can significantly speed up the quilting process, especially for larger quilts. Quilting machines are designed with features specific to quilting and offer various stitching options.
-
Quilting gloves: These gloves are specially designed with grips on the fingertips, allowing for better control when moving the layers through the sewing machine. Quilting gloves can reduce slippage and improve stitching accuracy.
-
Walking foot: A walking foot is a specialized sewing machine foot that can help feed multiple layers of fabric evenly. This foot is particularly useful when quilting and can prevent fabric shifting, resulting in neat and even stitches.
While these optional supplies can be beneficial, keep in mind that you can create beautiful quilts without them. It’s essential to prioritize based on your budget and quilting goals.
Preparing the Fabric
Washing and ironing the fabric
Fabric preparation is a crucial step in the quilting process, and it involves washing and ironing the fabric before cutting and sewing. Washing the fabric serves a dual purpose – it removes any dirt, chemicals, or starch from the fabric, and it also pre-shrinks the fabric to avoid any unexpected shrinkage after completing the quilt. Additionally, washing can reveal any color bleeding issues that could potentially ruin the quilt.
When washing the fabric, use a mild detergent and follow the manufacturer’s recommendations for temperature and cycle settings. Avoid using fabric softeners, as they can leave a residue on the fabric and affect the adherence of subsequent steps, such as basting and quilting.
After washing, it’s essential to iron the fabric to remove any wrinkles and ensure flat, smooth pieces for cutting. Use a hot iron and appropriate pressing techniques to achieve crisp edges and eliminate any creases or folds. Ironing the fabric will not only make it easier to work with but will also improve the accuracy of your cutting and piecing.
Effect of fabric preparation on quilt-making time
While fabric preparation may seem like an additional step that prolongs the quilting process, it is, in fact, a time-saving measure in the long run. Pre-washing fabric prevents any unpleasant surprises, such as unexpected shrinking or color bleeding, after the quilt is complete. By taking the time to pre-wash and iron the fabric, you can ensure that your finished quilt will maintain its shape and color vibrancy over time.
Furthermore, washing and ironing the fabric contribute to the overall quality of the quilt. Flat, wrinkle-free fabric will result in more precise cutting and piecing, making the quilt easier and more enjoyable to sew. Taking the time upfront to prepare the fabric will save you time and potential frustration during the later stages of quilting.
Cutting the Fabric
Methods and tools for fabric cutting
Fabric cutting is a crucial step in quilting, and utilizing the right methods and tools can make this process more efficient and accurate. Here are some methods and tools commonly used for fabric cutting:
-
Scissors: Dedicated fabric scissors with sharp blades are ideal for cutting smaller pieces or making intricate cuts. It’s essential to have a reliable pair of fabric scissors that are comfortable to hold and allow for precise cutting.
-
Rotary cutter: A rotary cutter is an excellent tool for cutting through multiple layers of fabric quickly. It consists of a rotating blade mounted on a handle and can be used with a cutting mat and ruler to ensure accurate cuts.
-
Cutting mat and ruler: A self-healing cutting mat and a clear ruler are indispensable tools for fabric cutting. The cutting mat provides a protective surface and helps maintain the sharpness of your blades, while the ruler allows for precise measurements and straight-line cuts.
Time-saving techniques for cutting fabric
Cutting fabric can be a time-consuming part of the quilting process, but there are several techniques you can employ to make it more efficient. Here are a few time-saving tips:
-
Layering fabrics: If your pattern calls for multiple identical pieces, you can layer several pieces of fabric together and cut them simultaneously. This reduces the number of cuts required and speeds up the process.
-
Using templates: If your pattern calls for specific shapes or templates, consider creating cardboard or plastic templates for those shapes. These templates can be easily traced onto the fabric, reducing the need for measuring and marking for each individual piece.
-
Chain piecing: Chain piecing is a technique where you sew multiple pieces together in a continuous chain without cutting the threads in between. This technique allows for faster piecing and minimizes thread waste.
By employing these time-saving techniques, you can streamline the fabric cutting process and spend more time on other aspects of quilt-making.
Piecing the Quilt Top
Steps involved in piecing the quilt top
Piecing the quilt top involves sewing the individual fabric pieces together to create the desired design. Here are the typical steps involved in piecing a quilt top:
-
Layout: Start by arranging your fabric pieces according to the pattern or design you’ve chosen. Lay them out on a flat surface to get an idea of how the finished quilt top will look.
-
Sewing: Once you’re satisfied with the layout, start sewing the fabric pieces together. Use a consistent seam allowance and press the seams as you go. Pay attention to the pattern instructions for the correct piecing order to ensure accuracy.
-
Pressing: After sewing each seam, press the seam allowance flat to one side or open, depending on the pattern instructions. Pressing helps to set the stitches and creates a flatter, neater appearance.
-
Matching seams: As you sew the fabric pieces together, pay attention to matching seams accurately. This ensures that your pattern’s design aligns correctly and creates a polished look. Pinning or using seam guides can be helpful in achieving precise seam matching.
Tips for efficient piecing
Efficient piecing can save a significant amount of time during quilt-making. Here are some tips to help you achieve more efficient piecing:
-
Organize your workspace: Before you start piecing, set up your workspace in a way that maximizes efficiency. Have all your fabric pieces, sewing machine, and tools within reach to minimize unnecessary movement and interruptions.
-
Chain piecing: As mentioned earlier, chain piecing is a technique where you sew multiple pieces together without cutting the threads in between. Chain piecing saves time by eliminating the need to stop and start the sewing machine for every piece.
-
Labeling and organization: If your pattern involves numerous fabric pieces, labeling them with post-it notes or small tags can be helpful. This ensures that you’re using the correct pieces for each step and minimizes confusion.
By implementing these tips, you’ll be able to piece your quilt top more efficiently and complete the project in less time.
Adding Borders and Sashing
Importance of borders and sashing
Borders and sashing are essential elements in quilt design, and they serve both aesthetic and functional purposes. Borders are fabric strips added around the edges of the quilt top, framing the design and providing a finished look. They also help to extend the size of the quilt if desired. Sashing, on the other hand, refers to the fabric strips or blocks placed between the larger quilt blocks, creating separation and visual interest.
Both borders and sashing play a vital role in enhancing the overall design and cohesiveness of the quilt. They can tie together various colors and patterns or provide contrast and definition. Borders and sashing also contribute to the structural stability of the quilt, adding strength and preventing distortion over time.
Time considerations for adding borders and sashing
The time required to add borders and sashing depends on the size and complexity of your quilt top. Adding simple borders or sashing made of one fabric strip is generally quicker compared to using multiple fabrics or intricate designs. Here are some time-saving tips for adding borders and sashing:
-
Pre-cutting fabric: Prepare your border or sashing fabric by cutting it to the required dimensions before sewing. This eliminates the need for frequent cutting during the sewing process and saves time.
-
Matching seam lengths: When sewing borders or sashing strips, match their length accurately to the corresponding quilt edge. Careful measuring and pinning can ensure that the strips fit evenly without any puckering or distortion.
-
Continuous length borders: If your quilt requires long borders that exceed the length of your fabric, consider sewing multiple strips together end-to-end to create a continuous length. This eliminates the need for multiple seams, resulting in a cleaner look.
By taking these time considerations into account and employing these tips, you can efficiently add borders and sashing to your quilt top.
Basting the Layers
Different basting methods
Basting is the process of temporarily holding the quilt top, batting, and backing layers together before quilting. This ensures that the layers are secure and prevents shifting or puckering during the quilting process. There are several methods you can use to baste the layers:
-
Thread Basting: Thread basting involves using temporary stitches, either by hand or with a long stitch setting on your sewing machine, to hold the layers together. This traditional method allows for greater control and accuracy in securing the layers.
-
Spray Basting: Spray basting involves using a temporary adhesive spray to hold the layers in place. This method is faster than thread basting and allows for easy repositioning if needed. However, it requires adequate ventilation and protection of your workspace.
-
Pin Basting: Pin basting involves using safety pins or curved basting pins to secure the layers together. This method is straightforward and easily adjustable, allowing you to reposition or remove the pins as you quilt. However, it can be time-consuming, especially for larger quilts.
Factors influencing basting time
The time required for basting depends on various factors, including the size and complexity of your quilt, as well as the method you choose. Generally, thread basting is the most time-consuming method, as it involves individually stitching the layers together. Spray basting, on the other hand, can be quicker, as it involves spraying an adhesive to hold the layers in place. Pin basting typically falls somewhere in between in terms of time required.
The size of your quilt also plays a role in basting time. Larger quilts naturally require more time for basting, regardless of the method chosen. However, by breaking down the basting process into manageable sections and working in an organized manner, you can make the process more efficient and save time.
Consider your comfort level with each basting method and the specific needs of your quilt when deciding which method to use. By choosing the most suitable method and implementing time-saving strategies, you can successfully baste the layers in a reasonable amount of time.
Quilting Techniques
Options for quilting the layers
Quilting refers to the stitching that holds the quilt layers together and adds decorative or structural elements to the quilt. There are various options for quilting the layers, each offering a unique look and level of difficulty. Here are a few common quilting techniques:
-
Straight-line quilting: Straight-line quilting involves stitching parallel or intersecting lines across the quilt top. This technique is beginner-friendly and works well with modern or minimalist designs.
-
Free-motion quilting: Free-motion quilting involves moving the quilt sandwich freely under the needle to create intricate designs, such as loops, swirls, flowers, or feathers. This technique requires practice and control but offers endless creative possibilities.
-
Echo quilting: Echo quilting involves stitching lines around or closely following the shapes or patterns in the quilt top. This technique adds dimension and emphasizes the design elements.
-
Hand quilting: Hand quilting involves stitching the layers together by hand using a small, even running stitch. Hand quilting adds a traditional, handmade feel to the quilt and allows for more intricate detailing.
Time implications of different quilting techniques
The time required for quilting depends on the method and complexity of your chosen quilting design. Straight-line quilting is generally the quickest technique, as it involves stitching simple, parallel lines. Free-motion quilting can take more time, especially if you’re creating intricate or detailed designs.
Hand quilting is the most time-consuming technique, as it involves stitching each stitch by hand. However, hand quilting offers a unique and personalized touch, and the time investment can be a labor of love.
Consider your quilting goals, the desired look of your quilt, and the time you’re willing to invest when choosing a quilting technique. It’s essential to find a balance between the level of intricacy and the amount of time you have available to dedicate to quilting.
Finishing Touches
Labeling and signing the quilt
Adding a label and signing your quilt is the final touch that adds a personal and sentimental element to your creation. The label serves as a record of the quilt’s creator, the date it was made, and any other relevant information. It can be as simple as a fabric tag with the necessary details or a more elaborate embroidered label.
Make sure to include your name, the date, and any additional information you believe is relevant or meaningful. Embellish the label with decorative stitching, embroidery, or personalized touches that reflect your creative style.
Additional decorations and embellishments
Once you’ve added the label, you can consider adding additional decorations or embellishments to enhance the quilt further. This is an entirely optional step that allows you to showcase your creativity and make the quilt truly unique. Some ideas for additional decorations include:
-
Appliqué: Add fabric cutouts or shapes to the quilt top using appliqué techniques. This can be done by hand or with a sewing machine.
-
Embroidery: Embroider details, designs, or quotes onto the quilt top or borders using different embroidery stitches.
-
Quilted motifs: Incorporate small quilted motifs or patterns in specific areas of the quilt top, such as corner blocks or borders. These motifs can be customized to fit the overall design and theme of the quilt.
Remember that these additional decorations and embellishments require additional time and precision. Consider your overall timeline and the impact you want to achieve when deciding on these finishing touches.
In conclusion, choosing a quilt pattern and understanding the time implications are essential factors in creating a successful quilt. The fabric selection process can be expedited by considering various factors and seeking inspiration from others. Gathering essential quilting supplies and understanding their impact on time can help you be more efficient in your quilt-making process.
Preparing the fabric through washing and ironing may seem time-consuming, but it greatly contributes to the overall quality and longevity of the quilt. Employing time-saving techniques during fabric cutting and piecing can streamline the process and reduce frustration.
Adding borders and sashing enhances the quilt’s design and stability, while basting the layers ensures their secure placement before quilting. Choosing the right quilting technique for your design and time constraints is crucial, and adding finishing touches, such as labeling and additional decorations, adds a personal touch to your quilt.
Remember, quilting is a journey, and everyone’s pace may vary. Embrace the process, enjoy the creative journey, and allow yourself the flexibility to take the time needed to create a quilt that brings you joy and satisfaction. Happy quilting!