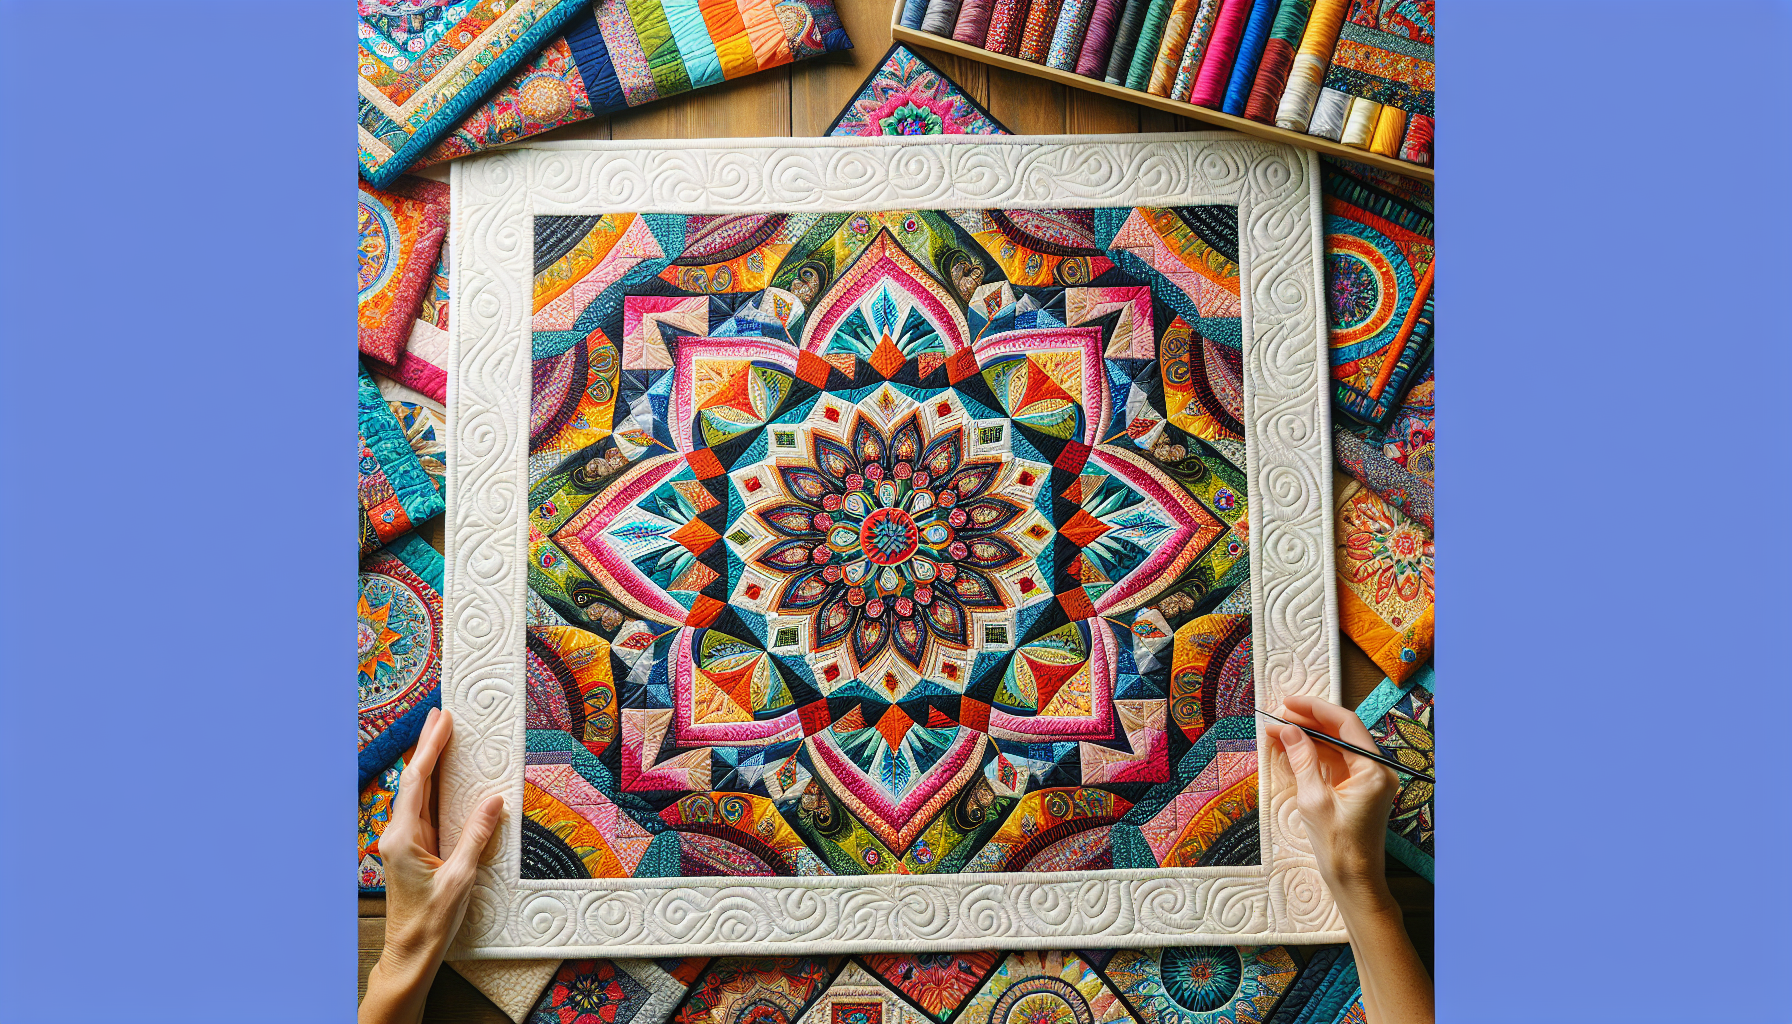
Have you ever wondered about the traditional methods behind the art of quilt-making? From patching together scraps of fabric to creating intricate patterns, quilting has been a beloved craft for centuries. In this article, we will explore the time-honored techniques used in making quilts, offering a glimpse into the rich history and skill required to create these warm and beautiful textiles. So, join us as we embark on a journey through the traditional ways of making quilts. Quilting has a long and rich history, with traditional quilt making techniques passed down through generations. In this article, we will explore the different aspects of designing, piecing, quilting, and finishing a quilt. Whether you are a seasoned quilter or just starting out, this comprehensive guide will provide you with valuable insights and tips to create your own beautiful quilt.
Designing the Quilt
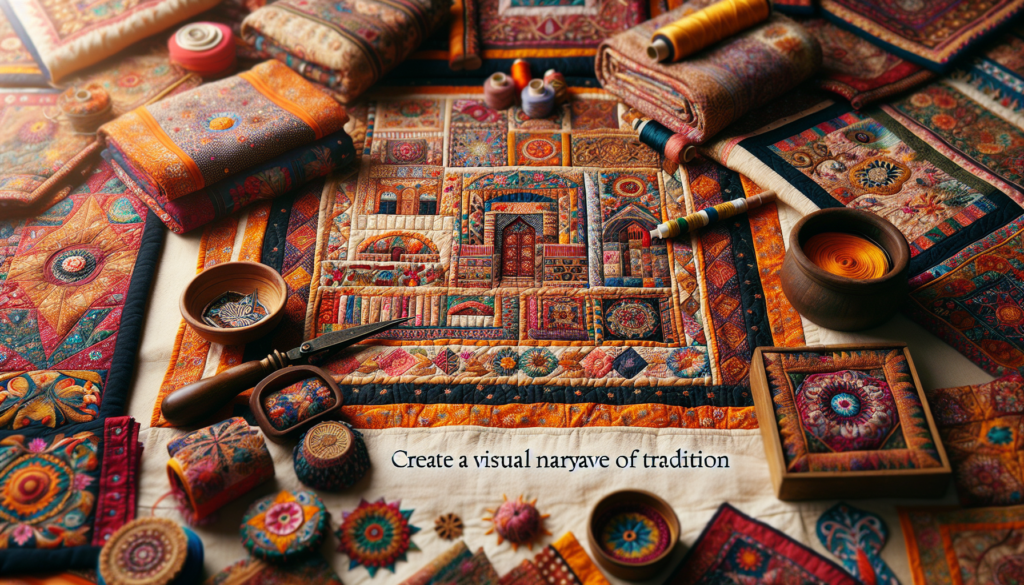
Choosing a Quilt Pattern
When designing a quilt, the first step is to choose a quilt pattern. Quilt patterns come in a wide variety of styles and designs, from simple geometric patterns to intricate appliqué designs. Consider your skill level, the intended purpose of the quilt, and your personal style when selecting a pattern. Browse through quilting books, magazines, or explore online resources for inspiration.
Creating a Template or Stencil
Once you have chosen a pattern, it is important to create a template or stencil. This will serve as a guide for cutting and piecing the fabric. The template can be made from sturdy cardboard or template plastic. Carefully trace the pattern onto the template and cut it out. Ensure that the template is accurate and the dimensions are correct.
Selecting Fabrics and Colors
The choice of fabrics and colors is an exciting part of the quilting process. Traditional quilts often feature a combination of prints and solids, with vibrant colors or soft pastels depending on the desired aesthetic. Consider the theme of the quilt, the intended recipient, and the overall color scheme when selecting fabrics. It is also important to choose high-quality fabrics that will withstand the test of time.
Preparing the Fabrics
Washing and Ironing the Fabrics
Before starting to cut and piece the fabrics, it is essential to wash and iron them. This step ensures that any shrinkage or color bleeding occurs before the quilt is pieced together. Use a mild detergent and follow the manufacturer’s instructions for washing. Once clean, iron the fabrics to remove any wrinkles and create a smooth surface for cutting.
Cutting the Fabrics into Shapes
Cutting the fabrics into the desired shapes is a critical step in quilt making. Using the template or stencil created earlier, carefully trace the shapes onto the fabrics and cut them out. It is essential to be precise with the cutting to ensure accurate piecing later on. Consider investing in a rotary cutter and cutting mat for more efficient and accurate cutting.
Arranging the Fabric Pieces
After cutting the fabric shapes, it is time to arrange them according to the chosen quilt pattern. Lay out the pieces on a large flat surface, such as a design wall or quilting table. Experiment with different arrangements until you find a layout that is visually pleasing and balanced. Take photos of your different arrangements to compare and choose the one that you like best.
Quilt Piecing Techniques
Hand Piecing
Hand piecing is a traditional quilt piecing technique that involves sewing the fabric pieces together by hand using a needle and thread. This technique allows for careful control and precision and is particularly well-suited for intricate designs. It requires patience and skill but can be a rewarding process for those who enjoy handwork.
Machine Piecing
Machine piecing is a quicker and more efficient method of quilt piecing. It involves using a sewing machine to stitch the fabric pieces together with a straight or zigzag stitch. This technique is commonly used for simpler quilt patterns or when time is of the essence. It is important to use a consistent seam allowance and press the seams flat for neat and accurate results.
English Paper Piecing
English paper piecing is a technique that uses paper templates to guide the sewing of fabric pieces together. This technique is commonly used for quilts with complex and repetitive geometric patterns. The fabric pieces are folded and basted around the paper templates, and then hand sewn together. Once the quilt top is complete, the paper templates are removed.
Quilting the Layers
Selecting the Batting
Batting is an essential component of a quilt as it provides warmth, structure, and cushioning. When selecting the batting, consider the desired level of warmth and loft, the quilt’s intended use, and personal preferences. Common types of batting include cotton, polyester, wool, and blends. Read the manufacturer’s recommendations for care and consider your quilting technique when choosing the right batting.
Basting the Layers
Basting is the process of temporarily securing the quilt top, batting, and backing layers together before quilting. This prevents shifting and puckering during the quilting process. Basting methods include thread basting, pin basting, and spray basting. Choose a method that suits your preferences and take the time to ensure the layers are smooth and flat.
Hand Quilting
Hand quilting is a traditional technique that involves stitching through all layers of the quilt using a quilting needle and thread. This technique allows for intricate and decorative stitching patterns. It requires patience and skill but results in a beautiful and unique quilt. Use a quilting hoop or frame to hold the layers taut and ensure even tension while quilting.
Machine Quilting
Machine quilting is a faster and more efficient method of quilting. It involves sewing through all layers of the quilt using a sewing machine with a quilting foot or walking foot attachment. Machine quilting offers a wide range of quilting designs and can be done with straight or decorative stitches. Practice on scrap fabric before quilting the actual quilt to ensure desired results.
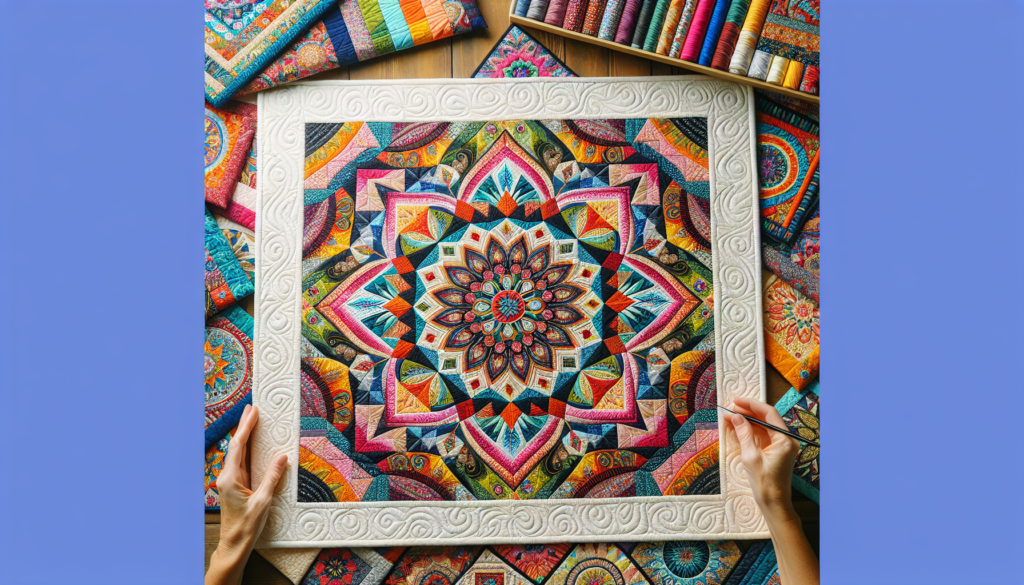
Traditional Quilting Stitches
Running Stitch
The running stitch is a basic quilting stitch that is used to secure the layers of the quilt together. It involves sewing in and out of the fabric layers with small, evenly spaced stitches. The running stitch is versatile and can be used for both quilting and piecing. Practice the running stitch on a scrap piece of fabric to achieve consistent and even stitches.
Backstitch
The backstitch is a strong and secure quilting stitch that is commonly used for outlining shapes or adding detail. It involves stitching a forward stitch, then backtracking to create a continuous line of stitches. The backstitch creates a neat and durable stitch line and is ideal for hand quilting.
Whipstitch
The whipstitch is a decorative quilting stitch that can be used to join fabric pieces together or add embellishments. It involves stitching over the fabric edges in a whip-like motion, securing the layers without any visible stitches on the front. The whipstitch can be done by hand or by machine, depending on the desired effect.
Feather Stitch
The feather stitch is a traditional quilting stitch that resembles the outline of a feather. It is used for decorative purposes, typically along the border or in specific design elements of the quilt. The feather stitch involves creating overlapping stitches that form a feather-like pattern. Practice on a scrap piece of fabric to achieve the desired flow and rhythm of the stitch.
Adding Borders and Bindings
Selecting a Border Design
Adding borders to a quilt can enhance its appearance and frame the quilt top. When selecting a border design, consider the overall theme and style of the quilt. Borders can be simple or elaborate, featuring geometric patterns or appliqué designs. Use the chosen quilt pattern as inspiration and explore different possibilities before making a final decision.
Attaching Borders
Attaching borders requires precision and careful measurement. Start by measuring the quilt top’s sides and cutting border strips accordingly. Pin the border strips to the quilt top, right sides together, and sew them using a consistent seam allowance. Press the seams flat and repeat the process for the remaining sides. Trim any excess fabric before moving on to the binding.
Creating the Binding
The binding is the finishing touch that secures the quilt’s edges and provides a clean and polished appearance. To create the binding, cut fabric strips on the bias or straight grain, depending on personal preference. Sew the fabric strips together to create a continuous strip and press the seams open. Fold the strip in half lengthwise and press again to create the binding.
Binding the Quilt
Binding the quilt involves attaching the prepared binding strip to the quilt’s edges. Start by attaching the binding to the back of the quilt and machine or hand sew it in place, covering the raw edges. Miter the corners for a neat finish and continue stitching until the starting point is reached. Fold the binding over to the front of the quilt and hand stitch it in place for an invisible finish.
Traditional Quilt Embellishments
Appliqué
Appliqué is a decorative technique that involves attaching fabric shapes to the quilt top. It can be done by hand or by machine and adds texture and dimension to the quilt. Traditional appliqué methods include needle-turn appliqué, raw-edge appliqué, and reverse appliqué. Experiment with different appliqué techniques to achieve the desired effect.
Embroidery
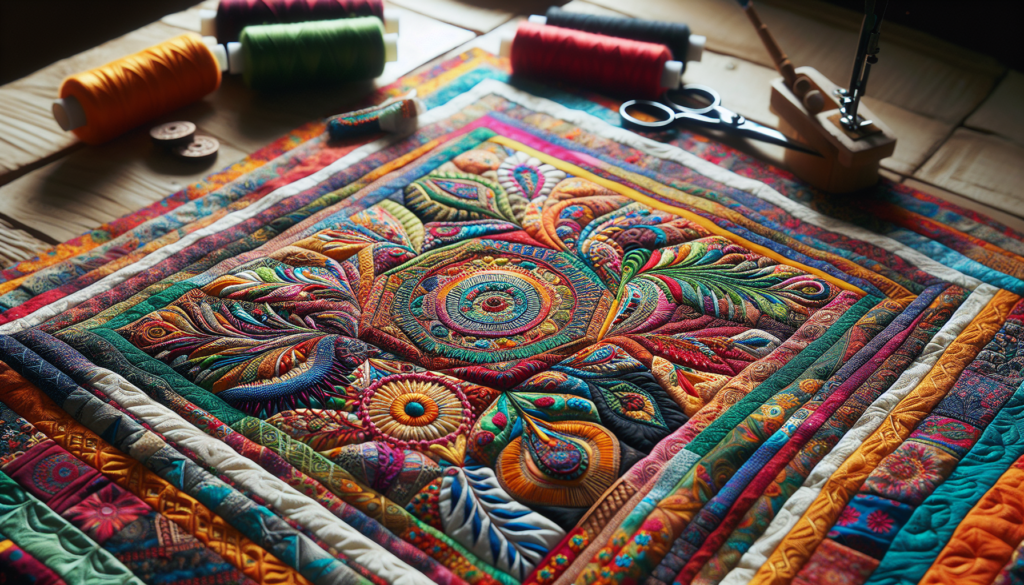
Embroidery is a traditional quilt embellishment that involves stitching intricate designs or motifs onto the quilt top. It can be done by hand or by machine and offers endless possibilities for personalization and creativity. Choose embroidery threads in complementary colors and practice different stitches to create visually stunning embellishments.
Yo-Yos or Suffolk Puffs
Yo-Yos, also known as Suffolk puffs, are circular fabric pieces that are gathered and stitched together to create a three-dimensional effect. They can be used as embellishments or joined together to create a larger design. Yo-yos are simple and fun to make and can add a pop of color and texture to your quilt.
Prairie Points
Prairie points are small fabric triangles folded and stitched along the quilt’s edges or borders. They add visual interest and dimension to the quilt and are commonly used in traditional quilt designs. Prairie points can be made from contrasting or coordinating fabrics and are a delightful finishing touch.
Finishing and Caring for the Quilt
Trimming Excess Fabric
After completing the quilt top, batting, and backing, it may be necessary to trim any excess fabric to ensure neat edges. Use a ruler and rotary cutter to carefully trim the quilt to the desired size, ensuring straight lines and square corners. Take the time to measure and trim accurately for a professional-looking finish.
Labeling the Quilt
Labeling the quilt is an important step to preserve its legacy and provide information for future generations. Use fabric markers or embroidery to add a label to the quilt, including your name, the date, and any additional information you deem important. This will ensure that your quilt’s history is preserved for years to come.
Quilt Care Tips
Taking proper care of your quilt will help preserve its beauty and longevity. It is recommended to store quilts in a clean, dry, and well-ventilated area away from direct sunlight. Avoid folding or hanging quilts for extended periods to prevent creases and stress on the fabric. Gently vacuum your quilt occasionally to remove dust and keep it clean.
Historical Cultural Influences on Quilt Making
Amish Quilts
Amish quilts are known for their simplicity, precision, and stunning color combinations. Reflecting the values of the Amish community, these quilts often feature solid-colored fabrics and geometric patterns. Amish quilts are typically hand pieced, hand quilted, and made to be durable and functional.
Hawaiian Quilts
Hawaiian quilts are rooted in the rich cultural traditions of the Native Hawaiian people. They feature bold and intricate appliqué designs inspired by the island’s flora and fauna. Hawaiian quilts embody a spiritual and artistic connection to nature, with each quilt holding a unique story and meaning.
Native American Quilts
Native American quilts are influenced by the diverse indigenous cultures of North America. These quilts often incorporate traditional symbolism, colors, and patterns passed down through generations. Native American quilt making techniques include appliqué, piecing, and quilting, with each tribe and region contributing to the vibrant and varied quilt-making tradition.
Preserving Traditional Quilt Making Techniques
Quilting Guilds and Groups
Quilting guilds and groups provide a platform for quilters to come together, share their expertise, and preserve traditional quilt making techniques. These organizations offer workshops, demonstrations, and community events, allowing quilters to learn from each other and keep the craft alive.
Quilt Exhibitions and Competitions
Quilt exhibitions and competitions celebrate the artistry and craftsmanship of quilt makers, old and new. They provide a platform for showcasing traditional quilt making techniques and innovative designs. Participating in exhibitions and competitions is a wonderful way to connect with the quilting community and contribute to the preservation of quilting traditions.
Quilt Documentation
Quilt documentation plays a vital role in preserving traditional quilt making techniques. By documenting information about the quilt, including the maker, date, pattern, and technique, future generations can learn about the history and significance of the quilt. Quilt documentation can be done through written records, photographs, or digital platforms.
In conclusion, traditional quilt making techniques provide a rich historical and cultural tapestry that continues to inspire and captivate quilters around the world. From designing the quilt to finishing and caring for it, each step in the quilting process requires attention to detail, creativity, and skill. By preserving and embracing traditional quilt making techniques, we can honor the traditions of the past while creating our own unique quilting legacy. So gather your fabrics, embrace your creativity, and embark on a quilting journey that will leave a lasting legacy. Happy quilting!
