In the world of sewing, there is one method that stands above the rest, the method that holds the key to creating beautiful garments and projects: seam allowance. Seam allowance, the extra space between the edge of the fabric and the stitched line, may seem like a small detail, but it plays a crucial role in ensuring that your sewing projects come together seamlessly. Whether you are a seasoned seamstress or just starting out on your sewing journey, understanding and mastering this method is essential. So, grab your measuring tape and thread your needle as we explore the importance of seam allowance in sewing.
Choosing the Right Fabric
Understanding Different Fabric Types
When starting a sewing project, one of the first things you need to consider is the type of fabric you will be using. Different fabrics have different properties and characteristics, which can greatly impact the outcome of your project. Take the time to familiarize yourself with the various fabric types, such as cotton, silk, polyester, and linen, among others. Each fabric has its own unique qualities, including breathability, durability, and drape. Understanding these differences will help you select the fabric that best suits your project’s needs.
Considering the Weight and Stretch
Another important factor to consider when choosing fabric is its weight and stretch. The weight of the fabric refers to how thin or thick it is, while stretch refers to how much the fabric can be pulled or stretched. It’s important to choose a fabric weight that is appropriate for the garment or item you are making. A heavier fabric, like denim or wool, is ideal for outerwear, while a lighter, more breathable fabric, like cotton or chiffon, is better suited for clothing worn in warmer weather. Similarly, the stretch of the fabric will determine how well it will conform to the body or other surfaces. Stretch fabrics are commonly used for garments that require ease of movement, such as activewear or dancewear.
Examining the Fabric Care Instructions
Before diving into your sewing project, it’s crucial to examine the fabric care instructions. These instructions will guide you in how to properly care for and maintain the fabric, ensuring its longevity and quality. Some fabrics may require special handling, such as handwashing or dry cleaning, while others may be easily machine washed. Pay attention to any specific temperature or drying restrictions, as these can greatly affect the fabric’s durability and appearance over time. By understanding and following the fabric care instructions, you can ensure that your finished project will have a long lifespan.
Preparing the Fabric
Prewashing and Ironing the Fabric
Once you have chosen your fabric, it’s essential to prewash and iron it before beginning your sewing project. Prewashing fabric helps to remove any excess dyes, chemicals, or shrinkage, which can affect the final fit of your garment. It’s best to follow the recommended prewashing instructions provided by the fabric manufacturer. After prewashing, ironing the fabric helps to remove any wrinkles or creases that may have formed during the washing process, ensuring that your fabric is smooth and easy to work with.
Laying Out the Pattern Pieces
After prewashing and ironing, it’s time to lay out your pattern pieces on the fabric. A pattern typically consists of several pieces that, when sewn together, create the desired garment or item. Follow the pattern instructions carefully to determine the correct placement of each pattern piece on your fabric. It’s important to pay attention to grainlines and fabric direction, as these can affect how the finished garment hangs and drapes. Use pins or pattern weights to secure the pattern pieces in place, ensuring accurate cutting and sewing.
Transferring Pattern Markings
Once your pattern pieces are laid out, you need to transfer any markings onto your fabric. These markings can include darts, notches, pleats, or any other design details indicated on the pattern. There are several methods to transfer markings, such as tailor’s chalk, marking pens, or tracing paper and a tracing wheel. Carefully and accurately transfer these markings onto the fabric, as they will guide you during the sewing process. Taking the time to transfer the pattern markings correctly will result in more accurate and professional-looking finished garments.
Cutting and Marking
Using the Correct Tools
To ensure precise cutting, it’s important to use the correct tools. Invest in a good pair of fabric shears or scissors that are designated solely for cutting fabric. Avoid using them for any other purpose, as this can dull the blades and result in uneven cutting. Additionally, a rotary cutter and cutting mat can be useful for cutting long, straight lines or multiple layers of fabric. Keep your tools sharp and properly maintained to achieve clean and accurate cuts.
Cutting the Fabric with Precision
When cutting your fabric, accuracy is key. Take your time and carefully follow the cutting lines indicated on the pattern. It’s crucial to cut along the correct grainline, as this will affect how the fabric stretches, drapes, and hangs. If cutting multiple layers of fabric, ensure they are aligned properly and securely pinned together to prevent shifting. Move the fabric smoothly and steadily, using long, smooth strokes of the scissors or rotary cutter, avoiding any jagged or abrupt movements. Remember to cut inside the cutting lines to allow for seam allowances.
Marking the Fabric for Sewing
In addition to transferring pattern markings, there may be instances where you need to mark the fabric for sewing purposes. This can include marking the location of buttons or buttonholes, pockets, or any alterations you need to make. There are various methods for marking fabric, such as tailor’s chalk, marking pens, or thread tacks. Choose the method that works best for your fabric and project, ensuring that the markings are visible and will not damage or stain the fabric. Accurate and clear markings will help guide you during the sewing process, ensuring precise results.
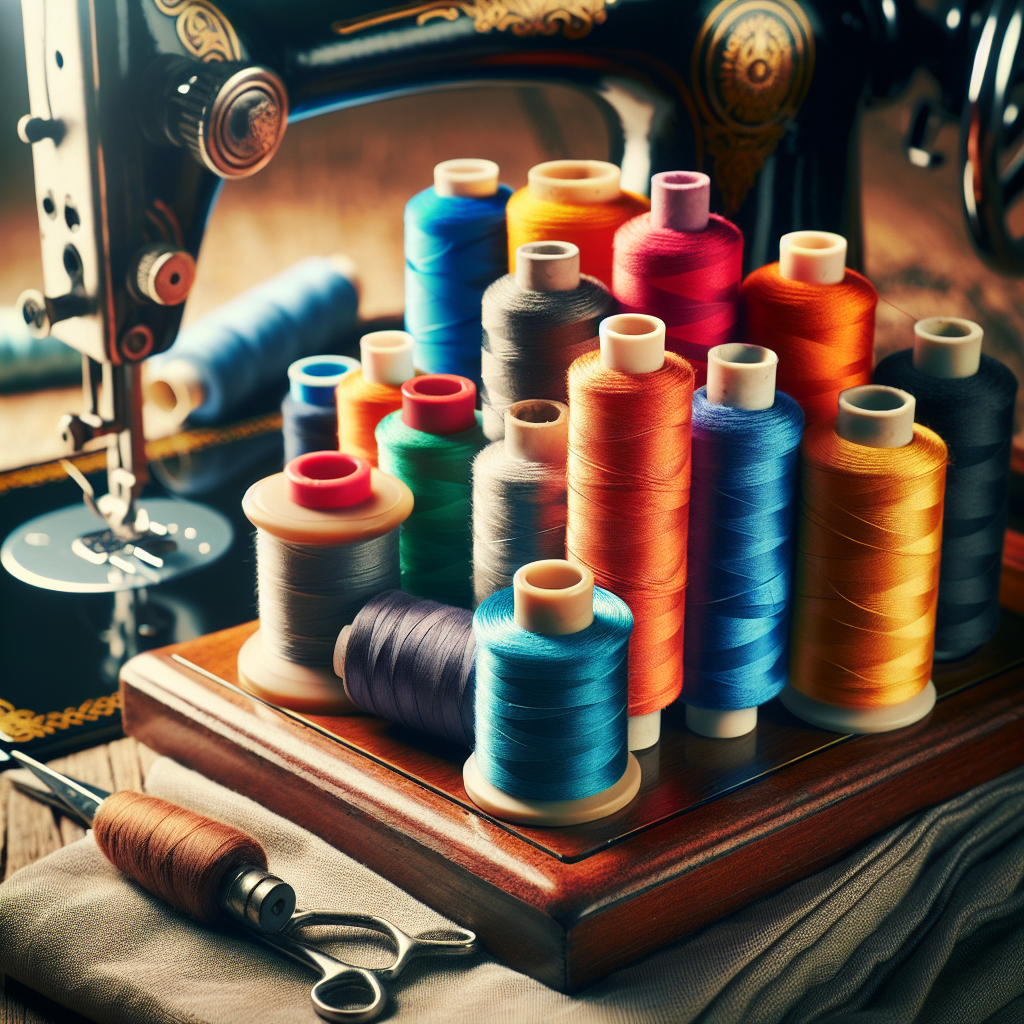
Thread and Needle Selection
Choosing the Right Thread Type and Color
Selecting the appropriate thread is essential for successful sewing projects. The thread should be strong enough to withstand the stresses of wear and tear, while also complementing the fabric in terms of weight and color. There are different thread types to choose from, such as cotton, polyester, or nylon, each with its own advantages and characteristics. Consider the intended use of your project and the fabric type to determine the best thread type. Additionally, choose a thread color that either matches or complements the fabric to achieve a cohesive and professional finish.
Selecting the Appropriate Needle Size and Type
When it comes to needles, one size does not fit all. The appropriate needle size and type will depend on the fabric you are working with. For lighter weight fabrics, choose a finer needle, while heavier fabrics may require a stronger, thicker needle. The needle type should also match the fabric’s characteristics. For example, a ballpoint needle is more suitable for knit fabrics, while a sharp or universal needle is better for woven fabrics. Using the correct needle will prevent fabric damage and improve the overall quality of your sewing.
Understanding Thread Tension
Thread tension is the balance between the upper thread and the bobbin thread in your sewing machine. Achieving the correct thread tension is crucial for even and secure stitches. Too tight of a tension can result in puckering or broken stitches, while too loose of a tension can generate loopy or uneven stitches. It’s essential to familiarize yourself with your sewing machine’s tension settings and make any necessary adjustments based on the fabric and thread you are using. Practice sewing on scraps of fabric to test and adjust the tension until you achieve the desired results.
Understanding Seams and Seam Finishes
Different Types of Seams
Seams are essential in sewing, as they join fabric pieces together. There are various types of seams to consider, such as plain seams, French seams, flat-felled seams, and more. Each seam type has its own purpose and advantages, depending on the fabric, garment, or desired aesthetic. It’s important to understand the characteristics and uses of different seam types to choose the most appropriate one for your project. Take the time to practice different seam techniques on scrap fabric to familiarize yourself with the process and achieve professional-looking results.
Using the Appropriate Seam Finishing Techniques
Seam finishing is the process of securing the raw edges of fabric to prevent fraying and add durability to your sewing projects. There are several seam finishing techniques to choose from, including zigzag stitching, serging, pinking, or using bias tape. The type of seam finishing technique you use will depend on the fabric type and your personal preference. Experiment with different techniques to find the one that works best for your projects. Properly finished seams not only enhance the overall appearance of your garment but also contribute to its longevity and durability.
Reinforcing Seams for Durability
Certain garments or items may require extra reinforcement to ensure their longevity and durability. This can include adding topstitching, bar tacks, or using multiple rows of stitching. Reinforcing seams strengthens the areas that may experience extra stress or wear and tear, such as pockets, crotch seams, or stress points on bags or accessories. By reinforcing your seams, you can ensure that your finished projects will withstand regular use and maintain their structural integrity for a longer period.
Sewing Machine Basics
Familiarizing Yourself with the Sewing Machine Parts
Before diving into sewing projects, it’s crucial to familiarize yourself with the basic parts of a sewing machine. This includes the needle, presser foot, stitch selection mechanism, bobbin, and tension adjustment. Understanding how these parts work and interact with each other will empower you to troubleshoot issues, make necessary adjustments, and utilize the machine to its fullest potential. Take the time to read the sewing machine’s manual and practice threading, bobbin winding, and basic stitch selection to build confidence and proficiency in operating your machine.
Threading the Machine Correctly
Properly threading your sewing machine is a fundamental skill in sewing. Each machine may have its own threading method, so it’s crucial to consult the user manual for specific instructions. Pay close attention to thread guides, tension discs, and the needle threader, ensuring that the thread flows smoothly and without any tangles or snags. Incorrect threading can lead to stitching problems, such as skipped stitches or tension issues. Take the time to practice threading until you can do it confidently and efficiently, as this will greatly impact the quality of your sewing.
Adjusting Stitch Length and Width
The stitch length and width settings on your sewing machine determine the size and appearance of your stitches. Different projects may require different stitch lengths or widths for optimal results. As a general rule, shorter stitches are more secure and durable, while longer stitches are best for gathering or basting. Similarly, narrow stitches are suitable for topstitching or edge stitching, while wider ones can be used for decorative purposes. Experiment with different stitch lengths and widths on scrap fabric to understand how they affect the final appearance and functionality of your stitches.
Mastering Basic Stitches
Straight Stitch for Secure Seams
The straight stitch is one of the most basic and versatile stitches in sewing. It is commonly used for securing seams, topstitching, or constructing hems. When sewing a straight stitch, ensure that the fabric is guided evenly and smoothly under the presser foot, keeping the seam straight and in alignment with the edge of the fabric. Use the appropriate stitch length and maintain a consistent speed to achieve uniform and secure stitches. Practice sewing straight stitches on scraps of fabric to build your confidence and improve your stitching precision.
Zigzag Stitch for Edges and Finishing
The zigzag stitch is another essential stitch with a wide range of applications. It is particularly useful for finishing raw fabric edges, preventing fraying, or creating stretch in garments made from knit fabrics. When sewing a zigzag stitch, adjust the stitch width and length according to your project’s needs. A wider stitch width is ideal for enclosing raw edges, while a narrower width can be used for decorative purposes. Take the time to practice sewing even and uniform zigzag stitches to achieve clean and professional results.
Backstitch for Reinforcing Seams
The backstitch is a simple but essential technique for reinforcing seams and preventing them from unraveling. It involves sewing a few stitches forward, then reversing the direction and sewing back over the same stitches, creating a secure locking stitch. Backstitching is commonly used at the beginning and end of seams or whenever extra strength is required, such as in areas of stress or tension. When backstitching, sew slowly and steadily, ensuring that the stitches are closely spaced together for maximum reinforcement. Practice the backstitch technique on scrap fabric to refine your skills and achieve sturdy and reliable seams.
Pinning and Basting
Proper Pinning Techniques to Secure Fabric
Pinning is an important step in the sewing process to ensure that fabric remains securely in place during sewing. When pinning, insert the pins perpendicular to the seamline, passing through both layers of fabric being joined. Avoid pinning too close to the edge, as this can distort the fabric or interfere with the sewing machine’s foot. Space the pins evenly and use enough pins to keep the fabric flat and taut throughout the sewing process. Practice pinning techniques to achieve proper fabric alignment and a smooth sewing experience.
Basting for Temporary Hold
Basting is a technique used to temporarily hold fabric pieces together before permanent stitching. It involves sewing long, loose stitches that can easily be removed once the permanent stitching is in place. Basting allows you to make adjustments, check the fit, or test the construction before committing to permanent stitching. Use a contrasting thread color or a longer stitch length when basting to differentiate it from regular stitching. Take the time to baste when necessary, as it can save time and prevent mistakes in the overall construction of your project.
Removing Pins and Basting Stitches
Once you have completed the permanent stitching, it’s important to remove the pins and basting stitches. This ensures a clean finish and prevents any interference with the fabric’s drape or functionality. Remove pins one by one as you approach them during sewing to avoid accidentally sewing over them or causing injury. When removing basting stitches, gently pull the thread and remove it from the fabric, being careful not to pull or damage the actual stitches. Take the time to remove all pins and basting stitches to achieve a polished and professional-looking final result.
Pressing and Ironing
Using an Iron for Professional Results
Pressing and ironing are essential steps in sewing that contribute to the overall appearance and quality of your finished projects. An iron helps to set seams, remove wrinkles, and give your handmade items a professional touch. When pressing, use a pressing cloth or a press cloth to protect delicate or heat-sensitive fabrics from direct heat. Apply the iron with an up-and-down motion rather than sliding it back and forth to prevent stretching or distorting the fabric. Be sure to adjust the temperature of the iron according to the fabric being pressed, as excessive heat can damage or melt certain fabrics.
Pressing Seams for a Neat Appearance
To achieve a neat and polished appearance, it’s important to press and flatten seams as you sew. Pressing seams helps to set the stitches and makes them less visible from the right side of the fabric. Always press seams flat before opening them to one side or pressing them to one direction. Use a tailor’s ham or a sleeve roll for pressing curved or awkwardly shaped seams, ensuring that the fabric is evenly and thoroughly pressed. Take the time to press each seam as you sew to achieve professional-looking results and enhance the overall finish of your projects.
Avoiding Common Ironing Mistakes
While using an iron is essential in sewing, it’s important to avoid common ironing mistakes that can damage your fabric or affect the finished result. One common mistake is using excessive heat or steam, which can cause scorching, melting, or distortion. Always test a small, inconspicuous area of fabric before ironing the entire piece. Another mistake is ironing over pins, which can damage the iron’s soleplate or cause the pins to leave marks on the fabric. Take the time to remove all pins before ironing to prevent any accidents or unwanted marks on your fabric.
Understanding Pattern Instructions
Reading and Interpreting Pattern Symbols
Pattern instructions are like a roadmap for your sewing project, guiding you through each step of the construction process. One important aspect of understanding pattern instructions is familiarizing yourself with the various symbols and notations used. These symbols indicate crucial information, such as grainlines, stitching lines, notches, and more. Refer to the pattern’s instructions guide or key to identify and understand each symbol. Reading and interpreting pattern symbols accurately will help you follow the instructions without confusion and achieve the desired outcome.
Following Seam Allowance Guidelines
Seam allowances refer to the distance between the raw fabric edge and the stitching line. Different sewing patterns may have different seam allowances, typically ranging from ⅝ inch to ¼ inch. It’s important to carefully read and follow the pattern’s instructions regarding seam allowances. Use a seam gauge or ruler to measure and mark the correct seam allowance on your fabric. Sewing with consistent and accurate seam allowances will result in properly fitting and well-constructed garments or items.
Making Adjustments to the Pattern
While patterns provide a great starting point, it’s common for some adjustments to be necessary to achieve the perfect fit or desired style. Take the time to measure and compare your body measurements to the pattern’s size chart to determine the appropriate size to cut. Additionally, consider any personal preferences or modifications you may want to make, such as adjusting the length, adding or removing ease, or altering the neckline. Understand that pattern adjustments may require additional steps and skills, such as grading between sizes or adding darts or pleats. Experiment and practice with pattern adjustments to create custom-made garments that perfectly suit your body and style.
In conclusion, sewing is a rewarding and creative hobby that allows you to express your personal style and create unique and beautiful items. By following the steps outlined in this article, you can improve your sewing skills and confidently tackle a variety of sewing projects. Remember to choose the right fabric, prepare it properly, select appropriate threads and needles, understand different seams and seam finishes, familiarize yourself with the sewing machine, master basic stitches, and practice proper techniques such as pinning, basting, pressing, and removing pins and basting stitches. By honing these skills and having a solid understanding of pattern instructions, you’ll be well on your way to becoming a skilled and successful seamstress. Happy sewing!