So you’ve recently acquired an interest in sewing, but you’re not quite sure where to start? Well, fear not! In this article, we will explore the fundamental aspect of sewing that serves as the foundation for any aspiring sewing enthusiast. From understanding the anatomy of a sewing machine to familiarizing yourself with basic stitches, this article will guide you through the exciting world of sewing and help you take your first steps towards creating beautiful garments and accessories. So grab your needle and thread, because it’s time to unravel the mystery behind the first thing to learn in sewing!
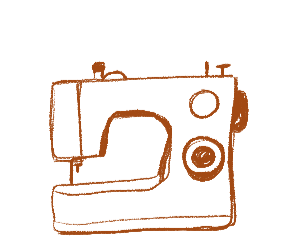
Choosing the Right Sewing Machine
Understanding the Different Types of Sewing Machines
When it comes to choosing the right sewing machine, it’s important to understand the different types available. There are mechanical sewing machines, which are operated manually using a foot pedal. These machines are great for beginners and those on a budget. On the other hand, computerized sewing machines offer more advanced features, such as automatic needle threading and a wide variety of stitches. These machines are perfect for experienced sewers who want more versatility and convenience.
Knowing Your Sewing Machine’s Features and Functions
Once you have chosen a sewing machine, it’s crucial to familiarize yourself with its features and functions. Take the time to read the instruction manual thoroughly and understand how each part of the machine works. Some common features to look out for are different stitch options, adjustable presser foot pressure, and a built-in thread cutter. Understanding your sewing machine’s capabilities will help you make the most out of your sewing projects.
Setting Up and Threading the Sewing Machine
Before you dive into sewing, it’s essential to set up and thread your sewing machine correctly. Start by finding a stable surface to place your machine on, ensuring it is level and secure. Follow the manufacturer’s instructions to wind a bobbin and thread it through the machine’s tension mechanism. Next, thread the main thread through the machine’s needle and pull it under the presser foot. Take your time with this process to avoid any thread jams or broken needles.
Basic Sewing Tools and Supplies
Essential Sewing Tools
Having a set of essential sewing tools is crucial for any sewing project. These tools include a pair of sharp fabric scissors, a seam ripper for fixing mistakes, a set of sewing needles, pins and a pincushion, a tape measure, and a tailor’s chalk or disappearing fabric marker. Additionally, it’s a good idea to invest in a good quality sewing machine thread and some bobbins. With these basic tools, you’ll be well-prepared to tackle any sewing project.
Different Types of Needles and Their Uses
Not all sewing needles are created equal, and understanding the different types and their uses can greatly enhance your sewing experience. Universal needles are the most common and versatile type and can be used for a variety of fabrics. However, if you’re working with specific fabric types such as denim or leather, it’s best to use needles designed specifically for those materials. Additionally, there are needles for different techniques, such as ballpoint needles for sewing knits and embroidery needles for decorative stitching.
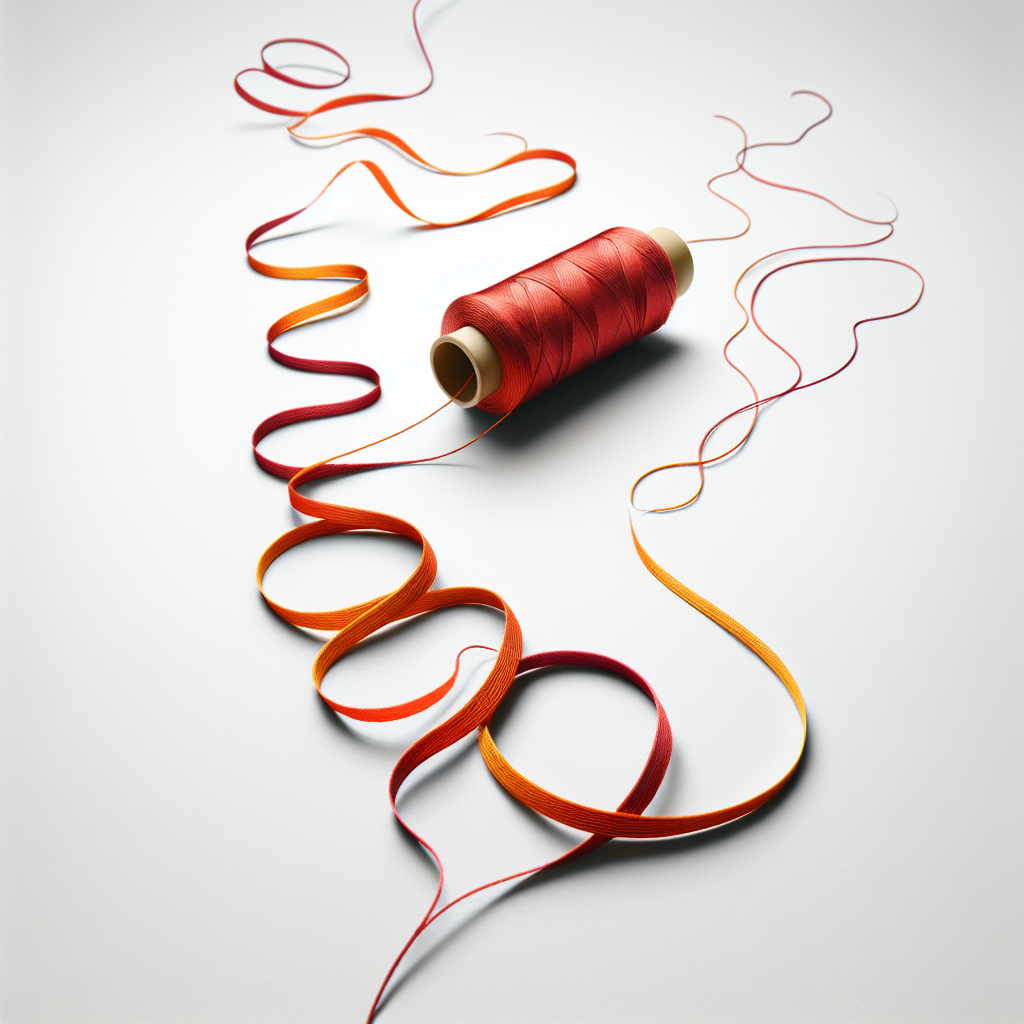
Understanding Different Types of Thread
Thread is another vital component of sewing, and it’s important to choose the right type of thread for your project. The most commonly used thread for garment sewing is polyester thread, as it is strong and durable. However, there are also specialized threads like cotton thread for natural fibers and silk thread for delicate fabrics. When selecting thread, consider the weight of the fabric you’re working with and ensure the thread color complements your chosen fabric.
Fabric Selection and Preparation
Selecting the right fabric for your project is key to achieving professional-looking results. When starting out, it’s best to choose medium-weight woven fabrics such as cotton or linen, as they are easier to work with. Avoid fabrics with a lot of stretch or textures, as they can be more challenging to handle for beginners. Before cutting into your fabric, it’s important to prewash and iron it to remove any sizing and ensure it won’t shrink or distort after sewing.
Learning Different Hand Stitches
Basic Hand Stitches and Their Applications
While sewing machines offer speed and convenience, hand stitches can be invaluable in certain situations. Some basic hand stitches every sewer should know include the running stitch, backstitch, slip stitch, and whip stitch. The running stitch is used for basic stitching and basting seams, while the backstitch provides strength and durability for seams. The slip stitch is excellent for invisible hemming and closing gaps, and the whip stitch is used for joining two fabric edges together.
Sewing on Buttons and Fasteners
Sewing buttons and other fasteners can be intimidating for beginners, but with a little practice, it becomes second nature. When sewing on buttons, choose a thread that matches either the button or fabric and use a double thread for added strength. Mark the button placement, secure the thread through the fabric, and sew through the buttonholes multiple times. For other fasteners like snaps or hooks, follow the manufacturer’s instructions to ensure a secure attachment.
Hemming Techniques
Hemming is a fundamental skill in sewing, as it gives a finished look to any garment or project. There are various hemming techniques to choose from, including hand-sewn hems, blind hems, and machine-stitched hems. Hand-sewn hems are great for delicate fabrics or when a seamless finish is desired. Blind hems use a special stitch that hides the thread on the right side of the fabric, creating an invisible hem. Machine-stitched hems are quicker and ideal for everyday garments.
Understanding Fabric Grain and Direction
Identifying Fabric Grain
Understanding fabric grain is essential for laying out patterns and cutting fabric pieces correctly. Fabric grain refers to the direction of the threads in the fabric. The lengthwise grain runs parallel to the selvage of the fabric, while the crosswise grain runs perpendicular to the selvage. It’s important to identify these grains correctly, as patterns often have specific grainline markings. By aligning your pattern pieces with the fabric’s grain, you ensure proper fit and drape of the finished garment.
Working with Bias and Cross Grain
The bias and cross grain of fabric can offer unique design possibilities and effects. The bias refers to a 45-degree angle across the grain of the fabric, while the cross grain runs perpendicular to the lengthwise grain. Working with the bias allows for more stretch and drape, making it ideal for bias-cut garments or adding decorative details. The cross grain can also be utilized to create interesting visual effects, such as using it for contrasting panels or stripes.
Choosing the Right Direction of Fabric Pattern
When working with fabric patterns, it is crucial to pay attention to the pattern’s directionality. Some fabrics have a specific pattern or design that should be oriented in a particular direction when cutting and sewing. For example, if you’re working with fabric that has vertical stripes, you’ll want to ensure these stripes run parallel to the garment’s center front. Take the time to carefully align your pattern pieces with the fabric’s design to achieve a professional and cohesive look.
Taking Accurate Body Measurements
Identifying Standard Body Measurement Points
Before starting any garment sewing project, taking accurate body measurements is vital. There are several standard body measurement points that should be identified and measured. These points include the bust, waist, hips, shoulder width, and arm length. By measuring these key areas, you can select the appropriate pattern size and make any necessary adjustments for a well-fitting garment.
Using Measuring Tools Properly
To ensure accurate body measurements, it’s important to use measuring tools correctly. A flexible tape measure is the most commonly used tool for taking body measurements. When measuring, make sure the tape is flat against the body but not too tight or too loose. For more complex measurements, like the inseam or arm circumference, it may be helpful to have an assistant or use a mirror to ensure accuracy.
Recording and Using Body Measurements
Once you have taken your body measurements, it’s essential to record them accurately for future reference. You can create a simple chart or use a sewing measurement app to store your measurements. When working with sewing patterns, refer to the pattern’s size chart and compare it to your measurements to select the best size. Additionally, you may need to make adjustments to the pattern to accommodate your unique body shape.
Learning Basic Sewing Machine Stitches
Straight Stitch
The straight stitch is the most basic and commonly used stitch on a sewing machine. It creates a straight line of stitches, perfect for seams, topstitching, and construction. To sew a straight stitch, select the straight stitch setting on your sewing machine, adjust the stitch length if necessary, and guide the fabric evenly under the needle. Practice sewing straight lines on scrap fabric to familiarize yourself with controlling the machine.
Zigzag Stitch
The zigzag stitch is another essential stitch that provides durability and flexibility. It is commonly used for finishing raw edges, preventing fraying, and creating decorative effects. To sew a zigzag stitch, select the stitch on your machine, adjust the stitch width and length as desired, and guide the fabric smoothly under the needle. Experiment with different stitch widths and lengths to create various effects.
Backstitch
The backstitch is a strong and secure stitch used for reinforcing seams and preventing them from unraveling. It is commonly used at the beginning and end of a seam to secure the stitches. To sew a backstitch, start by sewing forward a few stitches, then reverse over those stitches and sew forward again. This creates a stronger seam that will withstand wear and tear.
Edge Stitching
Edge stitching refers to sewing along the edge of fabric to create a neat and professional finish. It is commonly used for topstitching collars, cuffs, and hems. To sew an edge stitch, select a straight stitch and position the fabric edge along the desired seam allowance. Guide the fabric evenly under the needle, keeping it aligned with the edge. Practice sewing close to the edge for precise and consistent stitching.
Basting Stitch
A basting stitch is a temporary stitch used for holding fabric pieces together before permanent stitching. It is commonly used for fitting adjustments or when working with delicate fabrics. To sew a basting stitch, select the longest stitch length on your machine. Sew the stitches within the seam allowance, making them easy to remove later. Basting stitches are a valuable tool for ensuring proper fit and alignment before permanent stitching.
Gathering Stitch
Gathering stitches are used to create controlled gathers or pleats in fabric. It is commonly used for adding fullness to skirts, sleeves, or ruffles. To sew a gathering stitch, select the longest stitch length on your machine and sew two parallel lines of stitches within the seam allowance. Leave long thread tails at each end. Gently pull the bobbin threads while holding the fabric, distributing the gathers evenly.
Topstitching
Topstitching is a decorative and functional stitching technique that is sewn on the outside of the fabric. It is commonly used for embellishing seams, adding details, or securing facings. To sew a topstitch, select a straight stitch or a decorative stitch and position the fabric edge or seam along the desired distance. Guide the fabric smoothly under the needle, maintaining even stitch length and spacing.
Blind Hem Stitch
The blind hem stitch is used for creating invisible hems on garments. It is commonly used on skirts, pants, or dresses where a clean and professional finish is desired. To sew a blind hem stitch, fold the fabric with the raw edge slightly turned under. Select the blind hem stitch on your machine, align the folded edge with the guide on the machine, and sew slowly, ensuring the needle catches only a few fibers of the fabric.
Understanding Sewing Patterns
Reading and Interpreting Sewing Patterns
Sewing patterns serve as a blueprint for creating garments or projects. To effectively use sewing patterns, it’s important to learn how to read and interpret them. Start by familiarizing yourself with the pattern envelope, which contains important information such as size range, fabric recommendations, and notions needed. The pattern instructions guide you step-by-step through the construction process, and the pattern pieces provide a visual representation of the garment or project.
Transferring Pattern Markings onto Fabric
Pattern markings are essential for accurate construction and understanding pattern instructions. These markings indicate important points, such as darts, pleats, notches, and buttonholes. There are various methods for transferring pattern markings onto fabric, including tailor’s chalk, disappearing fabric markers, or tailor’s tacks. Choose a method that suits your fabric and personal preference, ensuring the markings are clear and easily visible.
Modifying and Altering Sewing Patterns
Sewing patterns can be a great starting point, but sometimes modifications or alterations are necessary to achieve the desired fit or style. Common pattern modifications include adjusting the length, width, or fit of a garment. To modify a pattern, start with measuring and comparing your body measurements to the pattern’s size chart. Make any necessary adjustments on a traced copy of the pattern, ensuring accurate and symmetrical changes.
Sewing Machine Maintenance and Troubleshooting
Cleaning and Oiling the Sewing Machine
Regular maintenance of your sewing machine helps keep it running smoothly and extends its lifespan. Cleaning your sewing machine involves removing lint and debris from the feed dogs, bobbin case, and needle area. Using a small brush or vacuum, carefully remove any buildup that may affect the machine’s performance. Additionally, oiling your machine as recommended by the manufacturer helps prevent friction and keeps the machine running smoothly.
Replacing Needles and Bobbins
Replacing needles and bobbins is an essential part of sewing machine maintenance. Needles should be replaced regularly to ensure clean and even stitches. As a general rule, replace the needle after every 8-10 hours of sewing or when it becomes dull or bent. When replacing bobbins, ensure you are using the correct type and size specified by your machine’s manufacturer. Incorrectly inserted or damaged bobbins can cause stitching issues.
Troubleshooting Common Sewing Machine Issues
Even with proper maintenance, sewing machines can sometimes encounter issues. Understanding common sewing machine problems and their solutions can save you time and frustration. Some common issues include thread tension problems, needle breakage, and fabric feeding issues. If you experience these issues, refer to your sewing machine’s manual or seek advice from a knowledgeable source to identify and address the problem.
Learning Basic Sewing Techniques
Seam Finishes
Seam finishes are techniques used to prevent raw fabric edges from fraying and add durability to seams. There are various seam finishes to choose from, depending on the fabric type and garment design. Common seam finishes include zigzag stitching, overlocking, French seams, and bias binding. Experiment with different seam finishes to find the one that works best for your project and fabric.
Pressing and Ironing
Pressing and ironing fabric is a crucial step in achieving professional-looking results. It helps set seams, flatten creases, and shape fabric. Always press your seams and fabric at each stage of the construction process to ensure precise and polished results. Use a press cloth when working with delicate fabrics and adjust the iron temperature according to the fabric’s needs. Proper pressing and ironing can elevate the overall appearance of your sewing projects.
Clipping and Notching Seams
Clipping and notching seams are techniques used to reduce bulk and allow fabric to lie flat when seams are curved or intersect. Clipping involves making small, angled cuts into the seam allowance, while notching involves cutting small triangles out of the seam allowance. These techniques help achieve smooth and even results when sewing curved or shaped seams, such as armholes and collars.
Gathering Techniques
Gathering is a technique used to create fullness in fabric, often for creating ruffles or adding volume to skirts or sleeves. There are several gathering techniques to choose from, including using basting stitches, gathering feet attachments, or elastic thread. Experiment with different gathering methods to achieve the desired fullness and appearance for your project.
Starting with Simple Sewing Projects
Sewing a Straight Line
Once you have mastered the basic sewing skills, it’s time to put them into practice with simple sewing projects. Start with sewing a straight line to build confidence and improve your stitch control. Practice sewing straight lines on scrap fabric, gradually increasing your sewing speed and accuracy. This simple exercise will set a strong foundation for more complex sewing projects.
Sewing a Simple Seam
After mastering sewing straight lines, move on to sewing a simple seam. Choose two fabric pieces and align their edges. Place them right sides together and secure with pins. Sew a straight seam, using the seam allowance specified in your pattern or project instructions. Press the seam allowance open or to one side to finish the seam.
Making a Basic Pillowcase
A basic pillowcase is a great beginner sewing project that allows you to practice basic techniques and create something functional. Choose a soft and durable fabric, and cut two rectangular pieces, allowing for seam allowances. Place the fabric right sides together and sew along three sides, leaving one short side open. Turn the pillowcase right side out, press the seams, and insert a pillow for a quick and satisfying project.
Creating a Simple Skirt
Once you have gained more confidence and practice, consider tackling a simple skirt project. Choose a skirt pattern suitable for beginners, ensuring it includes clear instructions. Select a fabric that matches your skill level and desired style. Follow the pattern instructions step-by-step, taking the time to measure and cut the fabric accurately, sew the seams, and insert any necessary closures. With patience and attention to detail, you’ll be able to create a wearable garment you can be proud of.
In conclusion, learning to sew is an exciting and rewarding journey. By understanding the different types of sewing machines, mastering essential tools, techniques, and maintenance, you’ll be well-prepared to embark on various sewing projects. Remember to start with simple projects and gradually challenge yourself with more complex garments or creations. With practice and dedication, you’ll develop the skills and confidence to sew beautiful and personalized pieces. So, grab your sewing machine, gather your supplies, and let your creativity take flight in the world of sewing!